In this Pesto Bruschetta Chicken, thin crispy chicken is topped with a fresh tomato bruschetta and drizzled with herby green pesto. It is super fresh, delicious, and perfect for warm spring and summer nights.
It’s a dish that is well-loved by the whole family. It can be adapted for those who may want just crispy chicken, or for those who want it topped with bruschetta and or pesto.
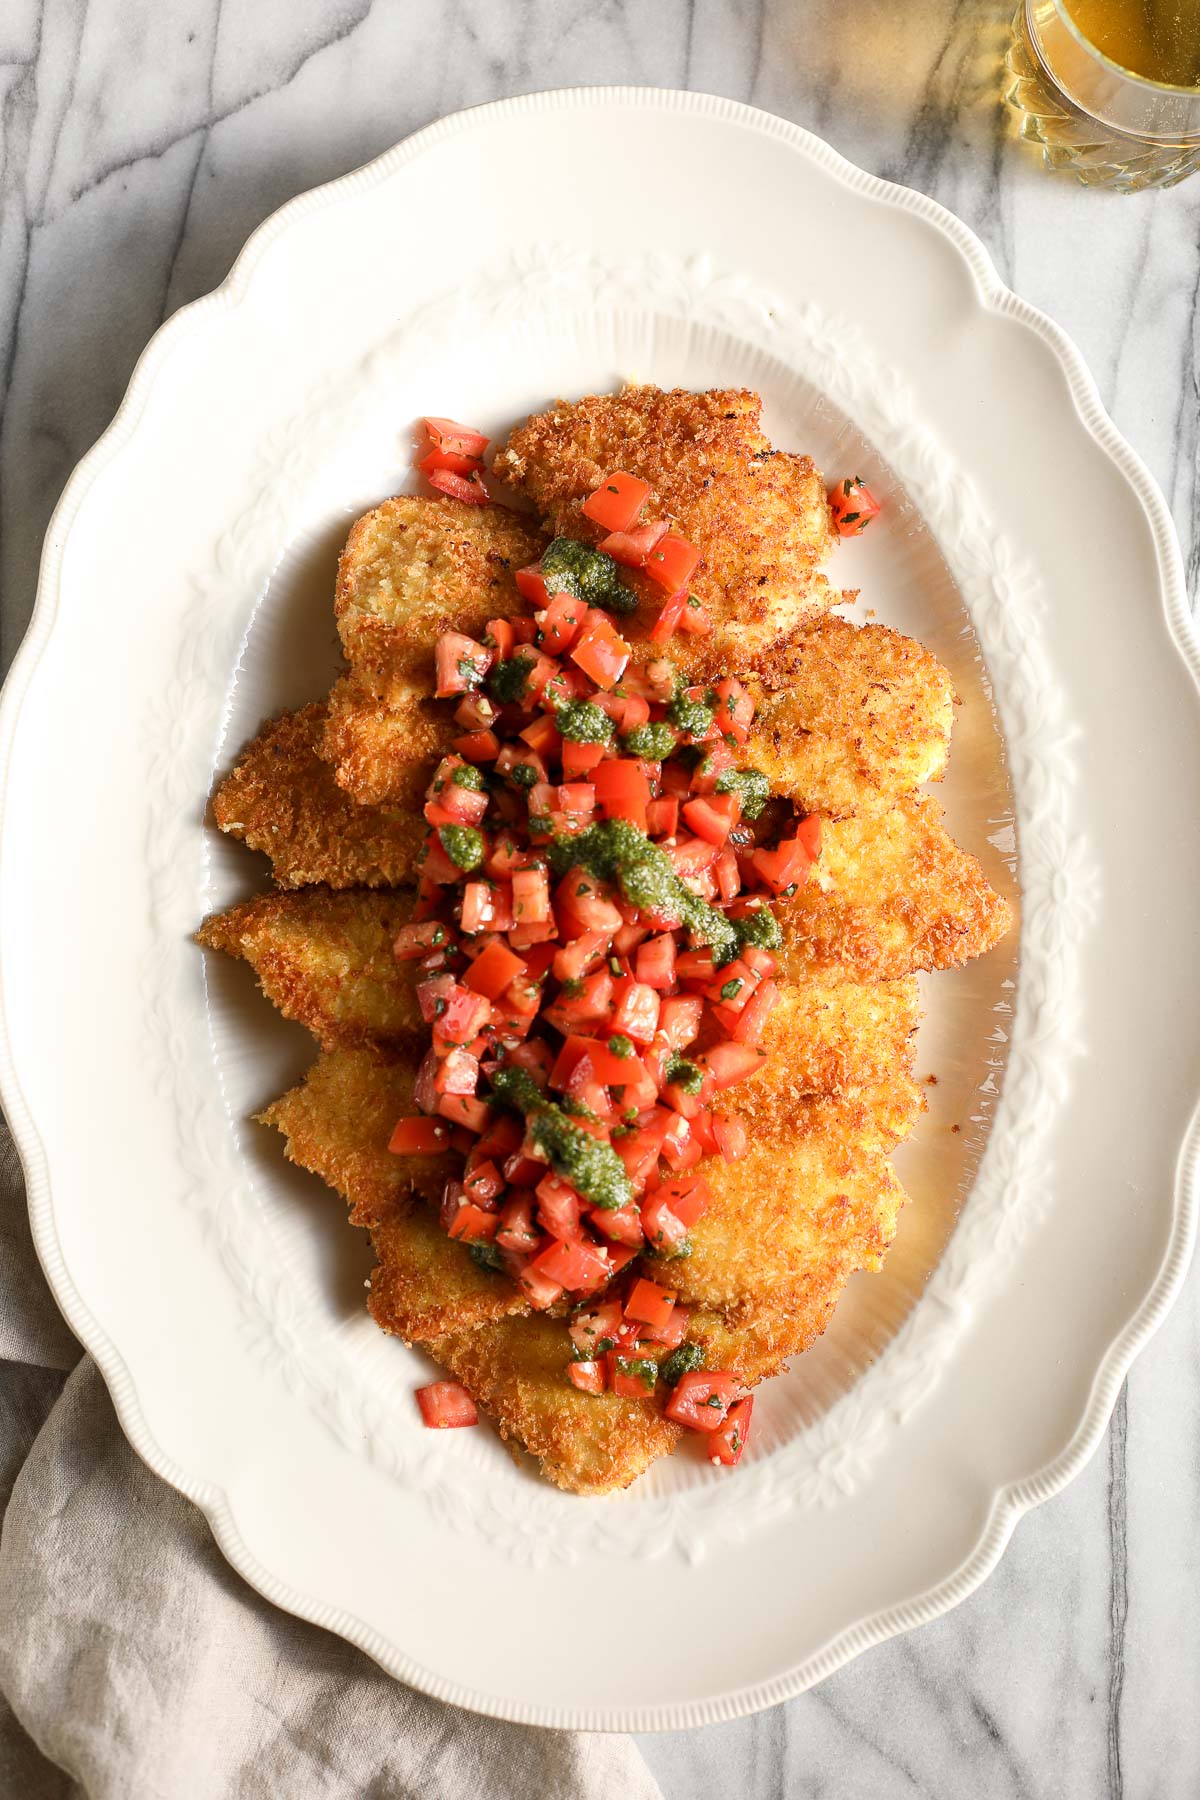
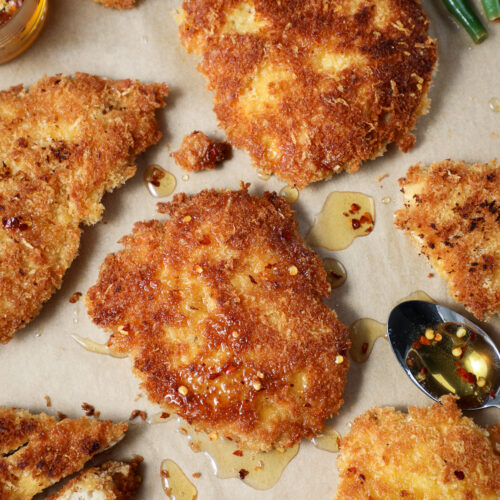
These chicken cutlets can be made in so many different ways. Top them with tomato sauce and mozzarella and you have chicken parmesan, or serve them with a warm cherry tomato sauce with butter and sage, or top them with a simple lemon butter sauce, or even make them as simple Hot Honey Chicken Cutlets. You could have these several times a month (we do!) and not get tired of them. This dish can be a great weeknight meal, and it is great for leftovers.
Or try these rolled crispy chicken pork cutlets in a Spanish dish called Flamenquines.
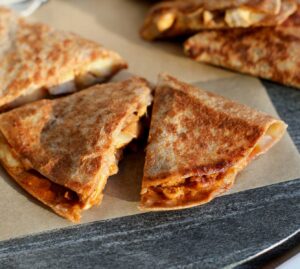
When we're looking for weeknight meals we often go to these Cajun Chicken Wraps, these Cheesesteak Wraps, or these Chipotle Chicken Quesadillas which can be made less spicy for kids.
Jump to:
Pesto
Homemade pesto comes together pretty quickly and you’ll already be using several of the ingredients for the bruschetta. Just dump all the ingredients in a blender and you’re done.
It is, however, helpful to slice the garlic in half lengthwise and remove the inner stem. This is where a lot of that super intense garlic flavor comes from. Removing it will temper the intensity. This is a helpful step especially since you are not cooking the garlic (cooking garlic reduces its intensity). The same goes for the garlic in the bruschetta.
When I make pesto, I typically do not include pine nuts as they can be pretty expensive. I did an experiment to compare three types of pesto: with pine nuts, with walnuts, and without nuts. You can read all the details in this post Pesto Recipe Without Nuts.
Homemade pesto is fairly quick but if you're looking to simplify, buy store-bought pesto to ease up your workload.
Bruschetta
The easiest tomatoes to use for bruschetta are Roma tomatoes. They tend to be fleshier with lower water content and they are easier to remove the seeds and dice. Removing the seeds is optional but it results in a bruschetta that is less watery and more crisp. .
I’ve also made bruschetta with heirloom tomatoes on toasted baguette slices in this recipe for Heirloom Tomato Bruschetta. The upside to using heirloom tomatoes is that the flavor is usually more intense and you can often find ones that are more colorful, which makes for an even more appetizing dinner or side.
Marinating the bruschetta in olive oil, salt, and balsamic vinegar enhances all the flavors. This can be done just while you are making the chicken or it can be done a day ahead and left in the fridge overnight.
Ingredients:
Below are the ingredients needed to make the Bruschetta Topping.
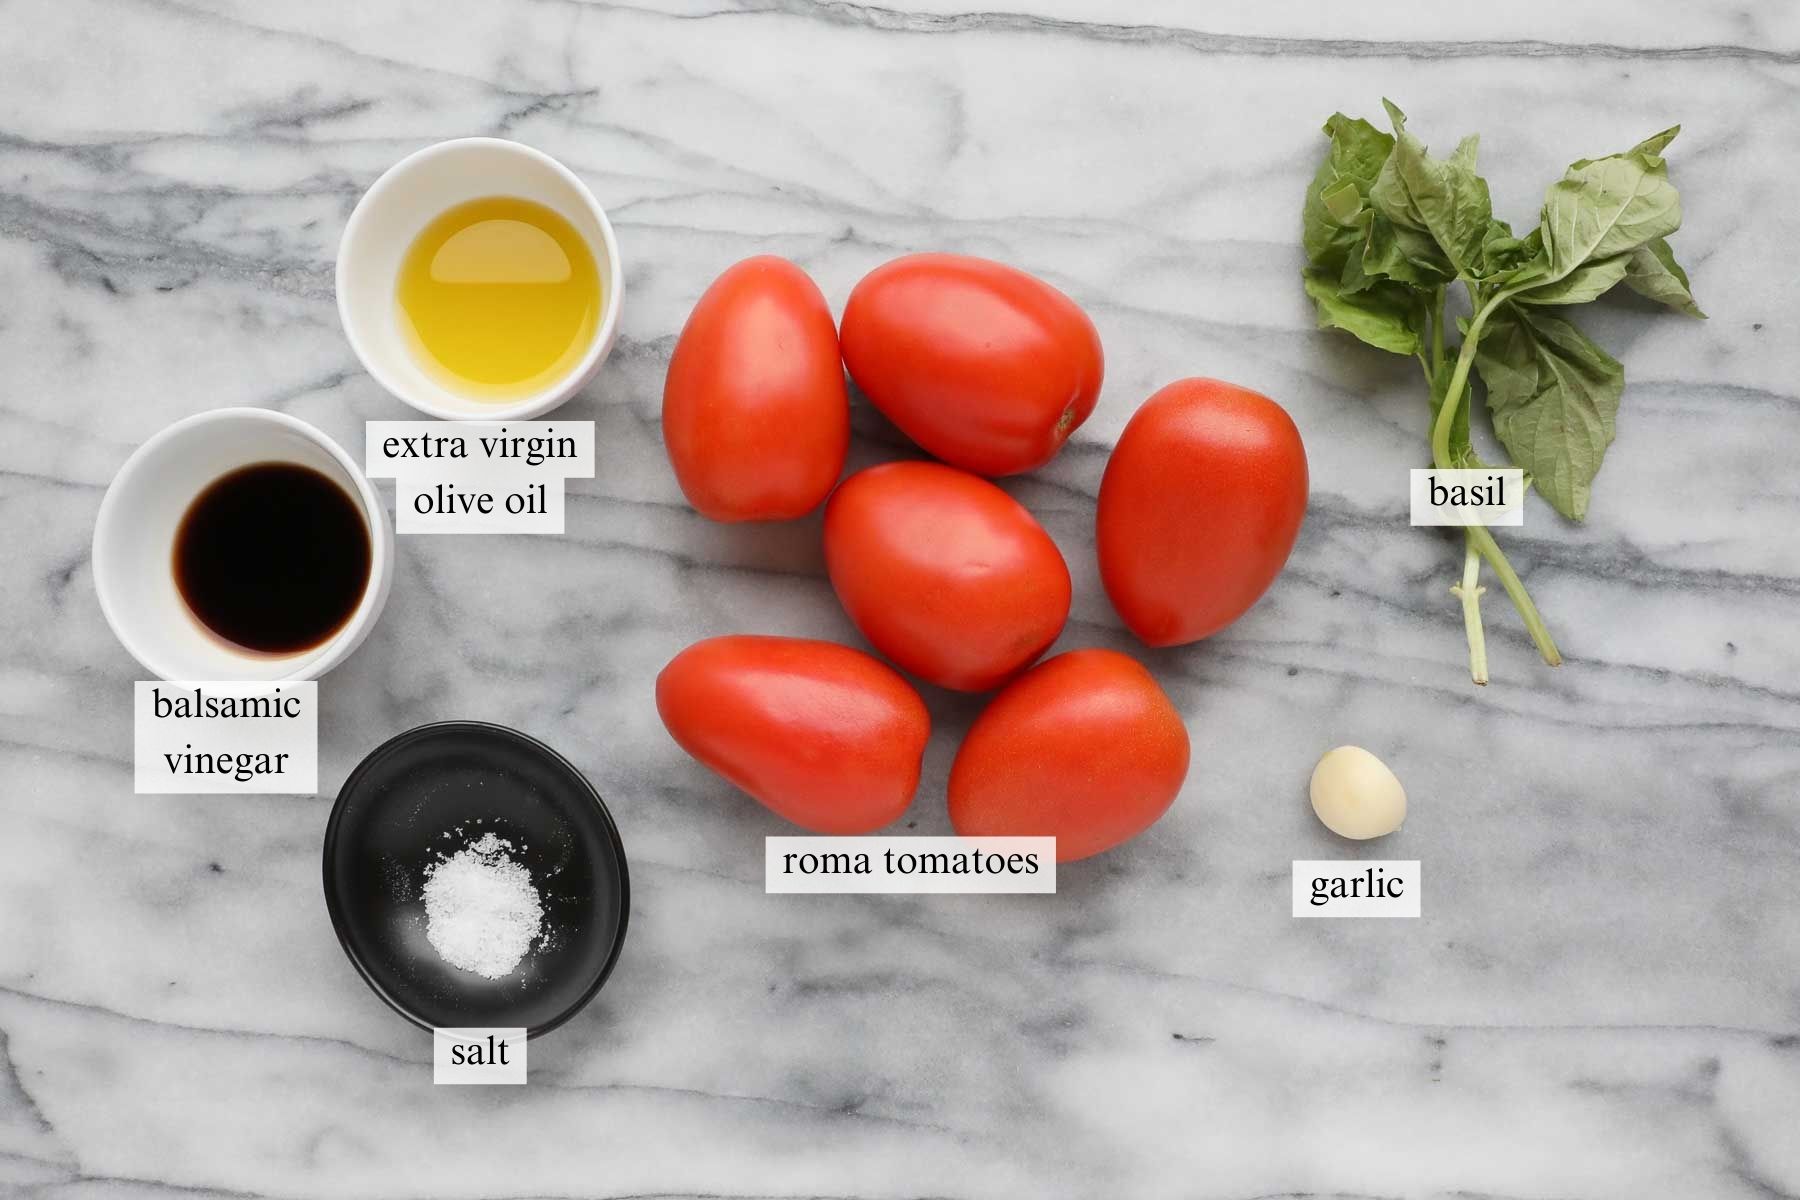
- Roma Tomatoes: Any tomatoes will work, but Roma tomatoes have more flesh and fewer seeds than many other tomatoes.
- Garlic: Slice in half vertically and remove the inner stem to reduce its intensity.
- Fresh Basil: The fresher the better.
- Extra Virgin Olive Oil: Be sure to use extra virgin olive oil. It adds flavor and richness.
- Balsamic Vinegar: Any brand will work.
- Salt: To taste.
Below are the ingredients needed to make the Pesto.

- Fresh Basil: The fresher the better.
- Parmesan: I recommend buying a wedge of parmesan and grating it yourself.
- Extra Virgin Olive Oil: Use extra virgin olive oil.
- Salt: To taste or start with ¼ tsp.
- Garlic: Slice in half vertically and remove the inner stem to reduce its intensity.
- Pine Nuts: Pine nuts are optional. I typically leave them out, but if you want a little extra nuttiness and texture you can add them, or substitute walnuts.
Below are the ingredients needed to make Crispy Breaded Chicken.
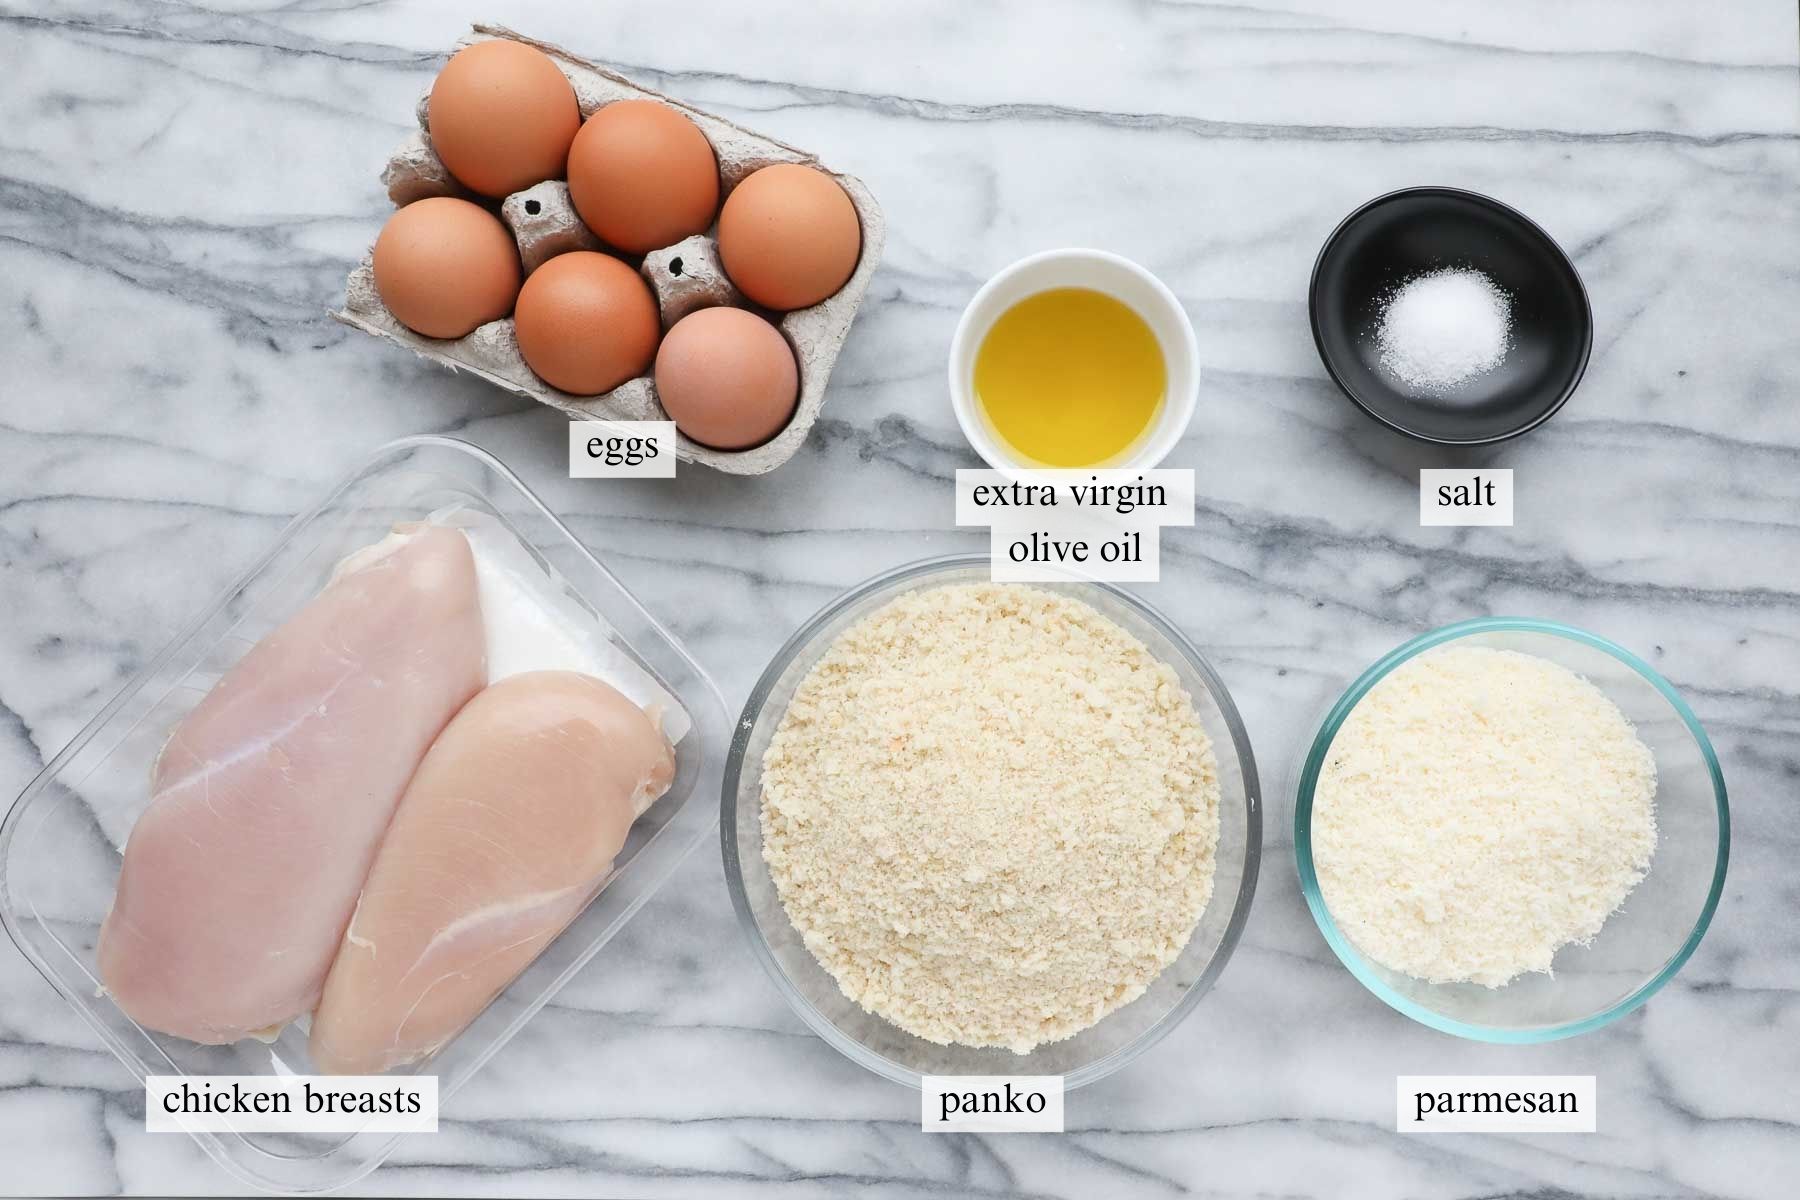
- Panko: Panko crumbs are larger than regular bread crumbs. They add a little extra texture and crunch to the chicken.
- Parmesan: I recommend buying a wedge of parmesan and grating it yourself.
- Salt: Brings out flavor.
- Eggs: Use 3 large eggs.
- Chicken Breast: Use organic, if possible.
- Extra Virgin Olive Oil: Use extra virgin olive oil, not virgin olive oil, not olive oil.
See the recipe card further below for full information on ingredients and quantities.
Substitutions and Variations
- Tomatoes: Most tomatoes will work here, but if you can't find Roma tomatoes use cherry or grape tomatoes, or any smaller tomato.
- Pine Nuts: These are optional, so either leave them out or use walnuts.
- Panko: You can substitute regular bread crumbs.
- Variations: You can skip the breading and use grilled chicken breasts or grilled chicken thighs.
How to Make Pesto Bruschetta Chicken
Below are the step-by-step instructions for how to make Pesto Bruschetta Chicken.
*Note: The recipe card with instructions, ingredient list, and quantities is included further below these step-by-step photos.
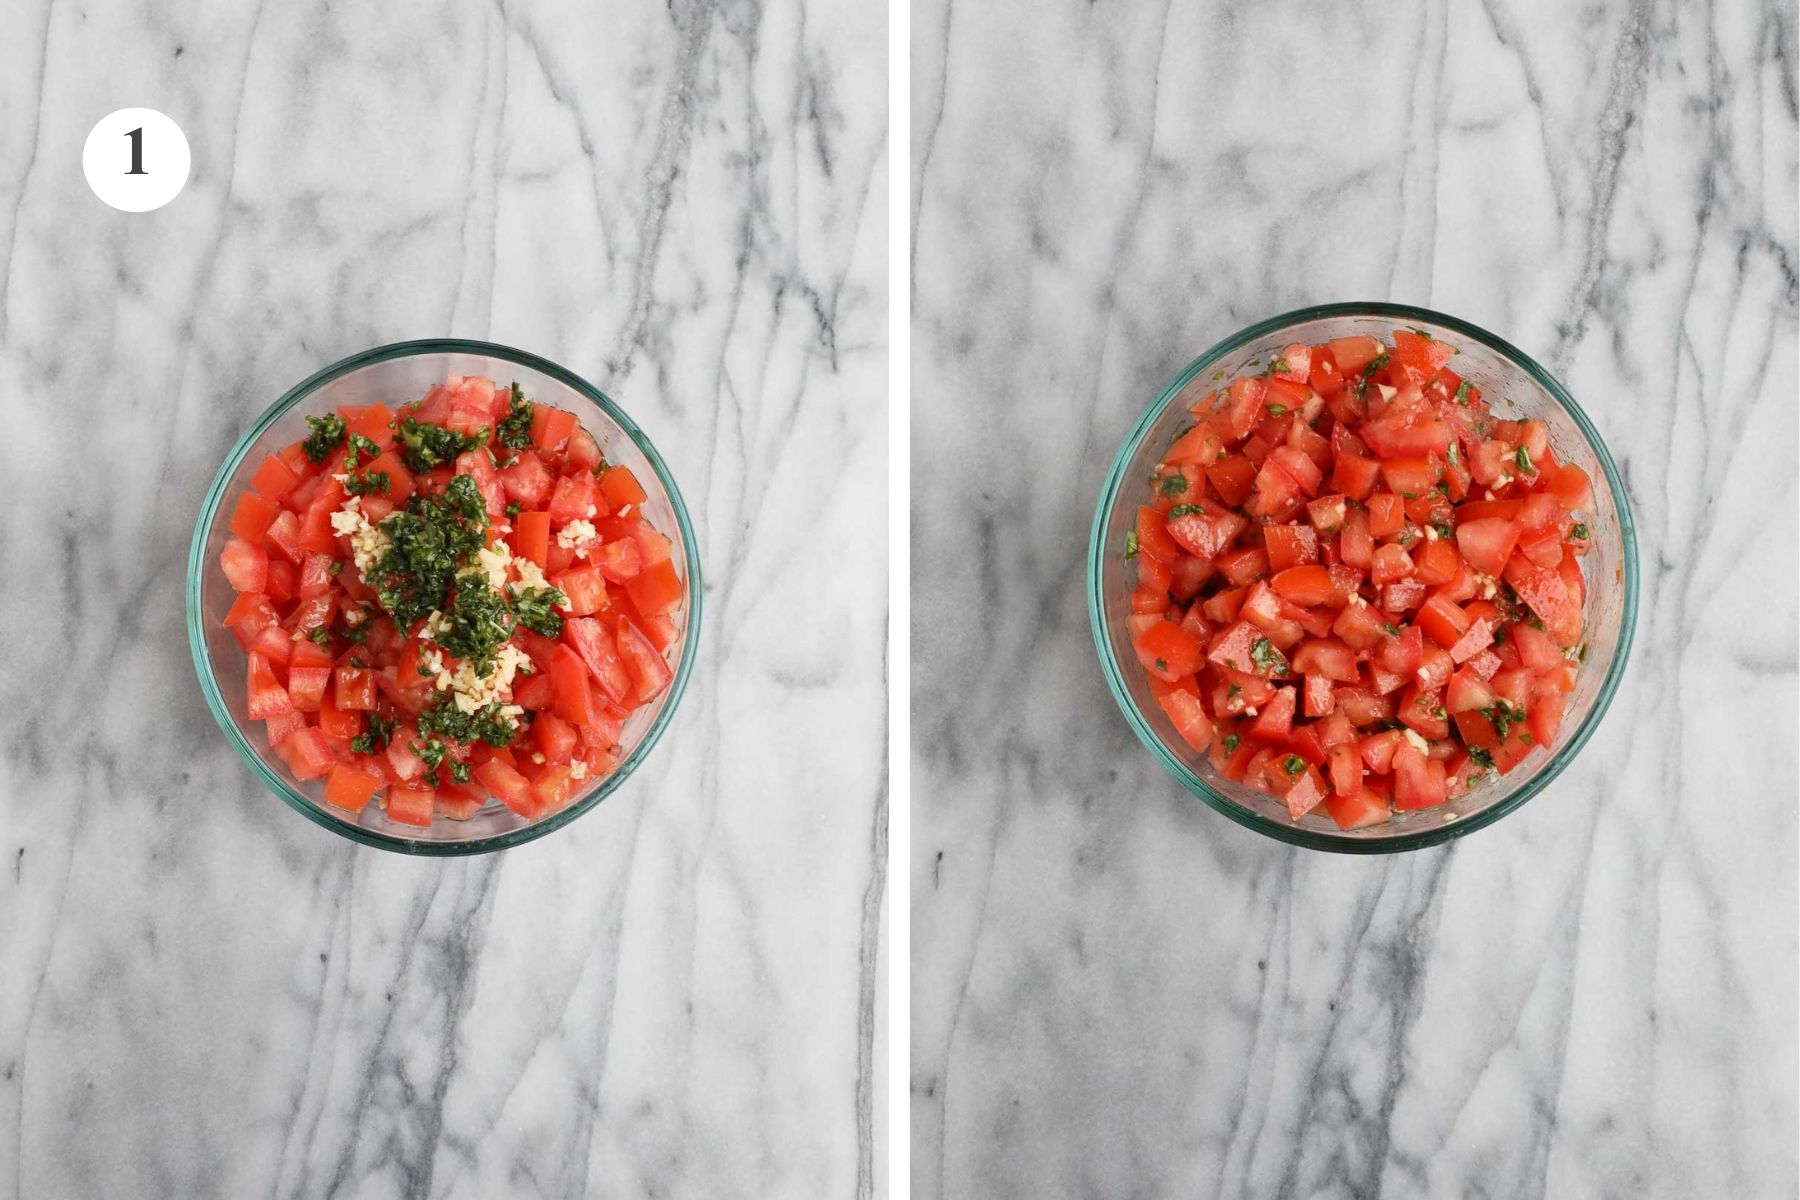
Step 1. Add the diced tomatoes, garlic, minced basil, olive oil, balsamic vinegar, and a pinch of salt (or a few cracks from a spice grinder) to a medium-sized bowl and combine.
Expert Tip: While it is not necessary, I like to remove and discard most of the seeds from the tomatoes when I dice them. It's fairly easy to do if you are using Roma tomatoes, and it makes the bruschetta less watery.
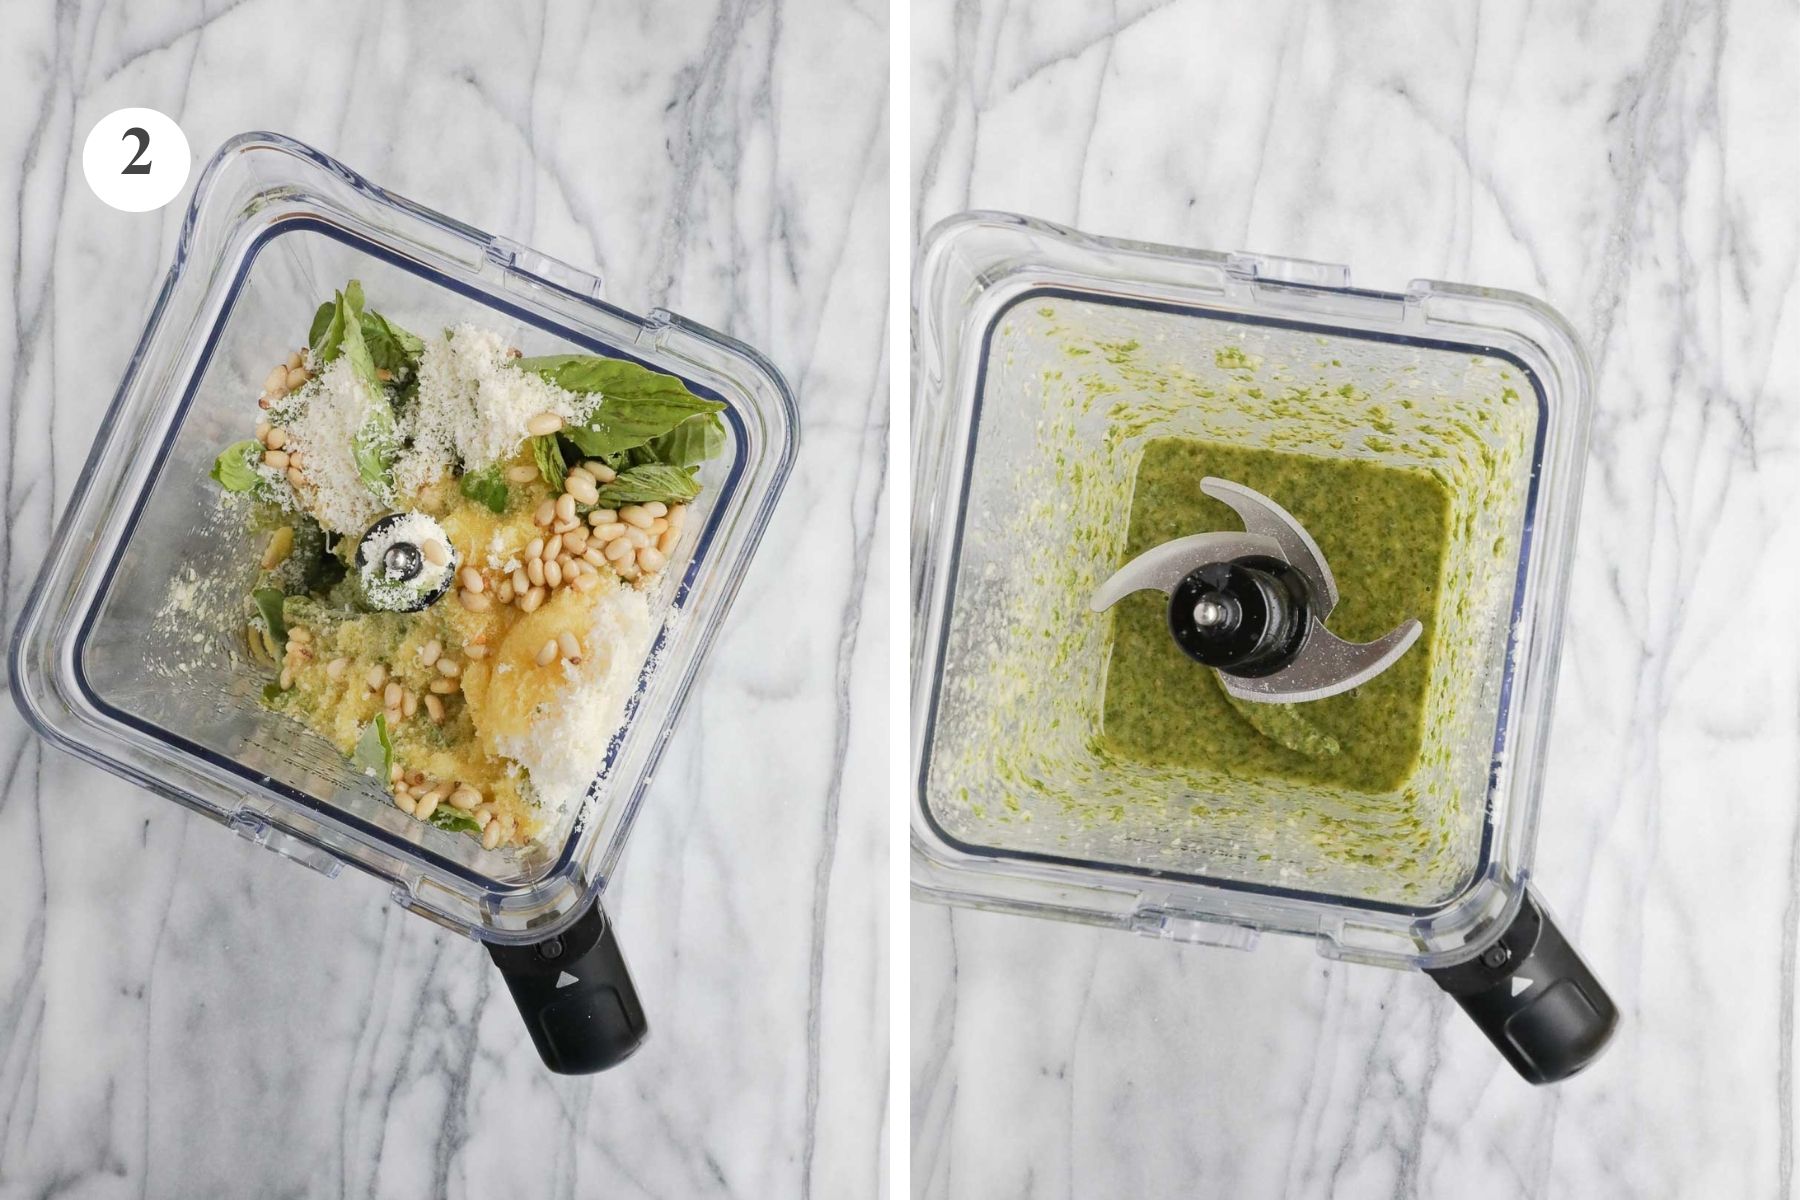
Step 2. Add the basil, parmesan, extra virgin olive oil, garlic (middle stem removed), pine nuts (optional), and salt to a blender or food processor and blend together. Add additional olive oil if needed.
I rarely use pine nuts when making pesto, so feel free to leave it out or substitute it with walnuts, which will have an earthier taste.
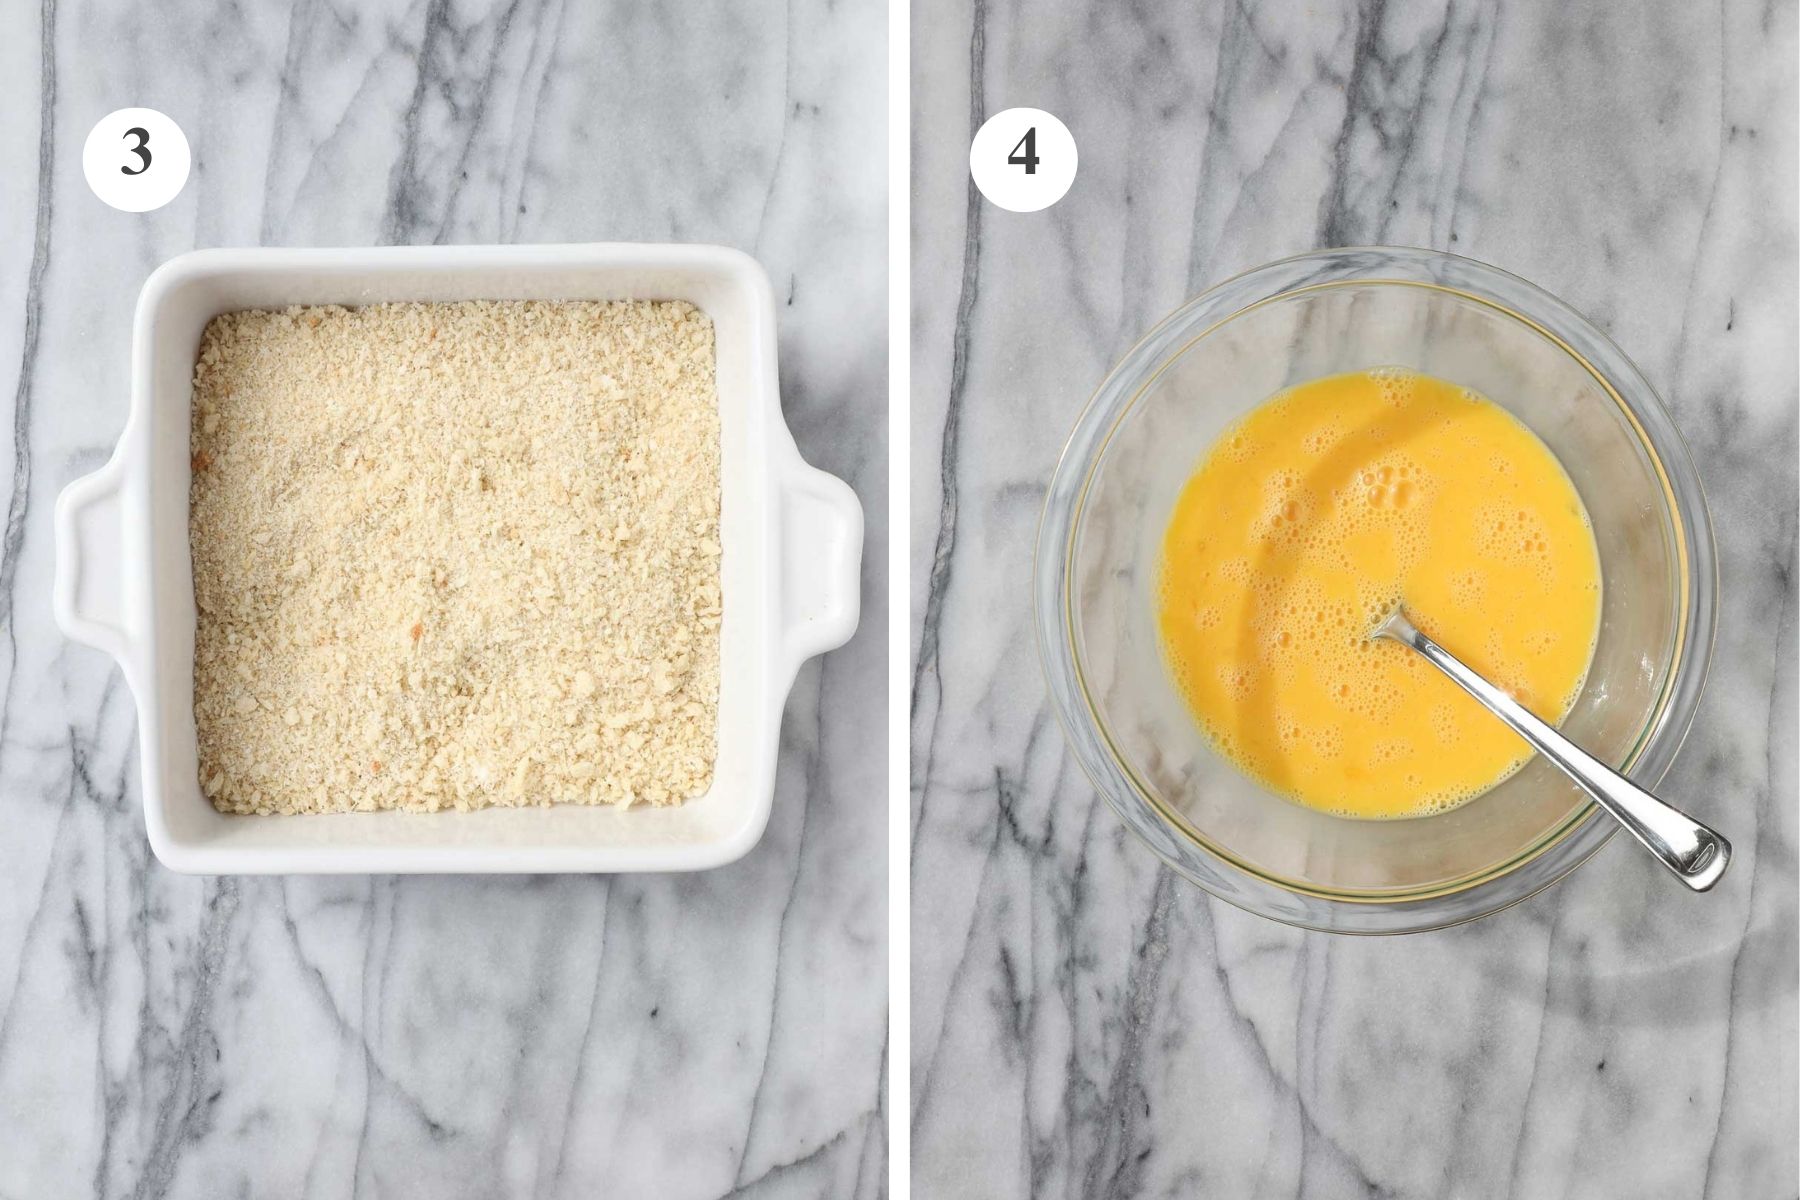
Step 3. Add the panko, parmesan, and salt to a medium shallow baking dish and combine.
Step 4. Add the eggs to a medium bowl and whisk (or use a fork) to combine.
Expert Tip: You can add 1-2 teaspoons of milk to the eggs, which helps to thin out the eggs slightly which helps when coating the chicken.
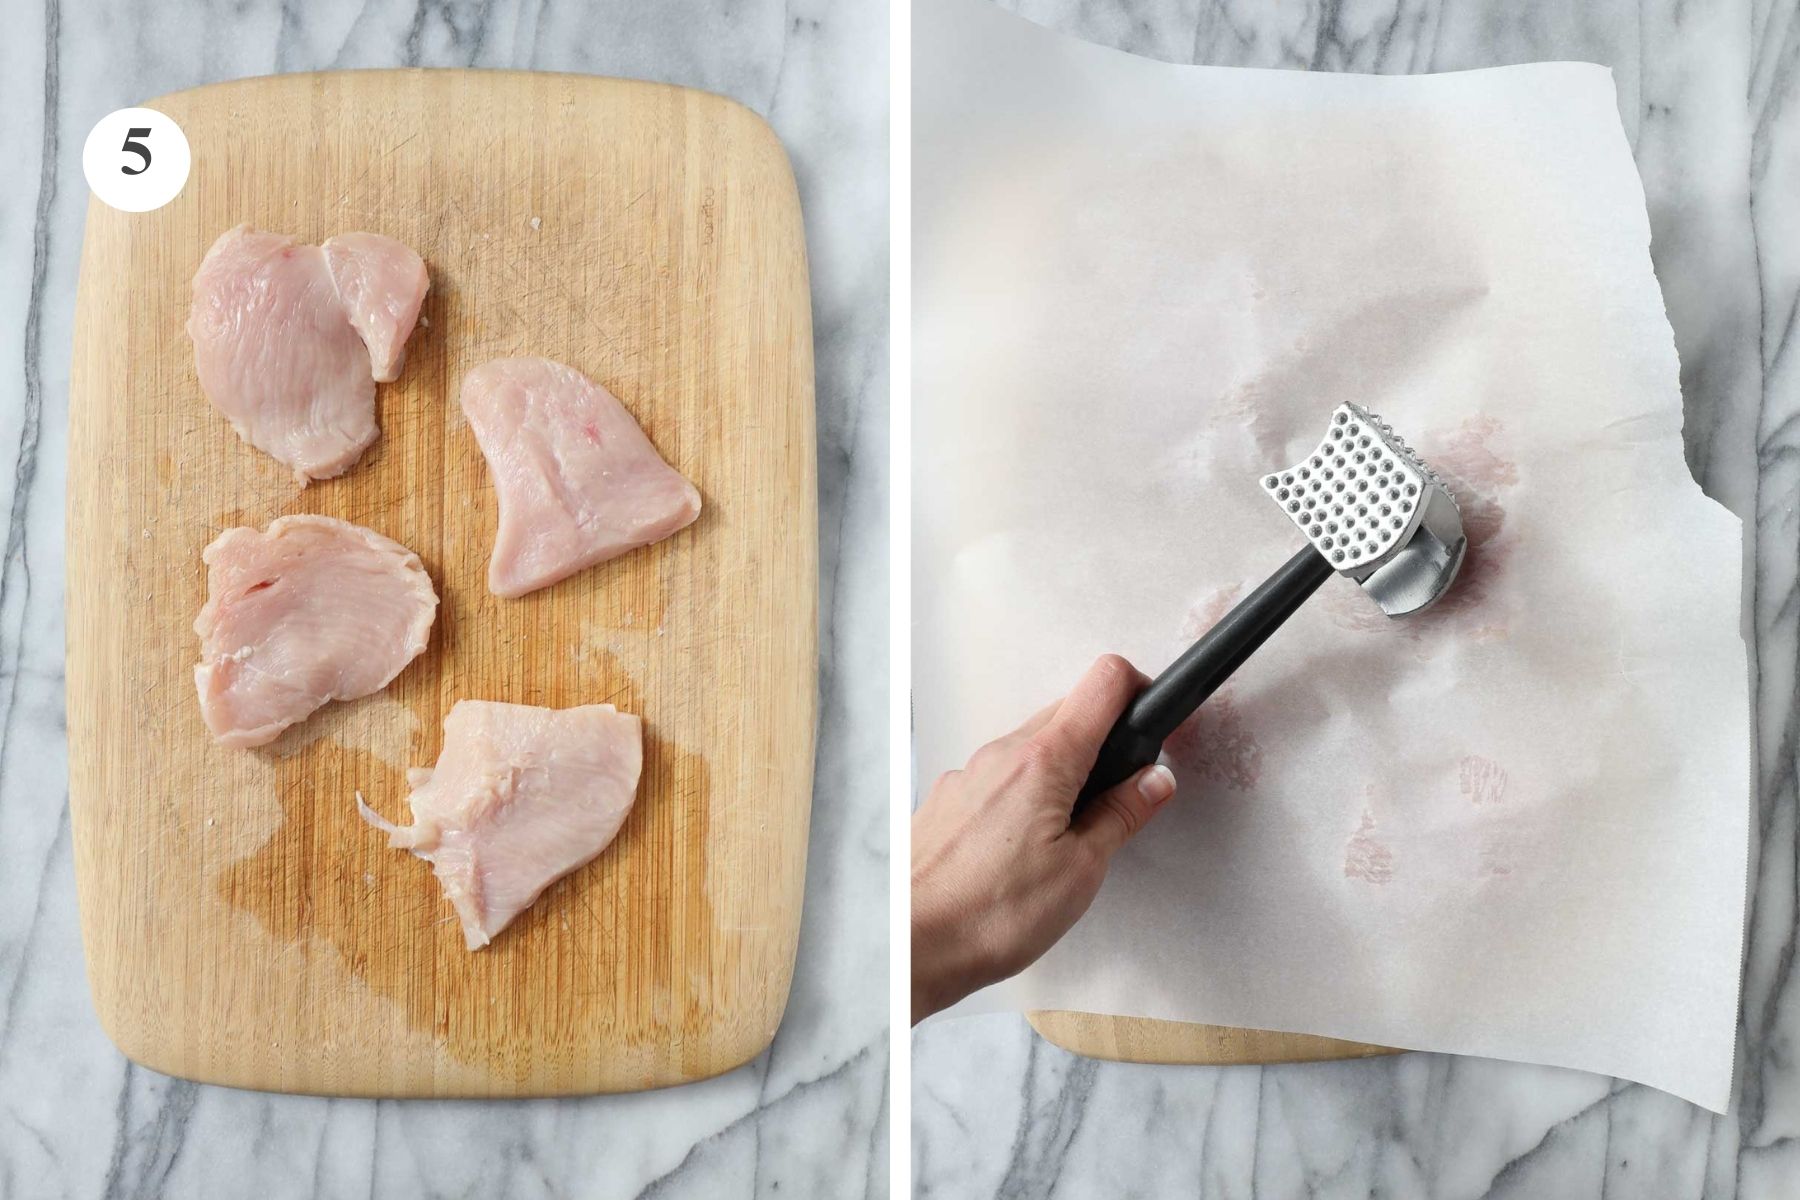
Step 5. Slice the chicken in half and then in half again lengthwise such that each chicken breast is cut into 4 thin, wide pieces. Cover with parchment paper and use a meat tenderizer to hammer the chicken into thinner pieces.
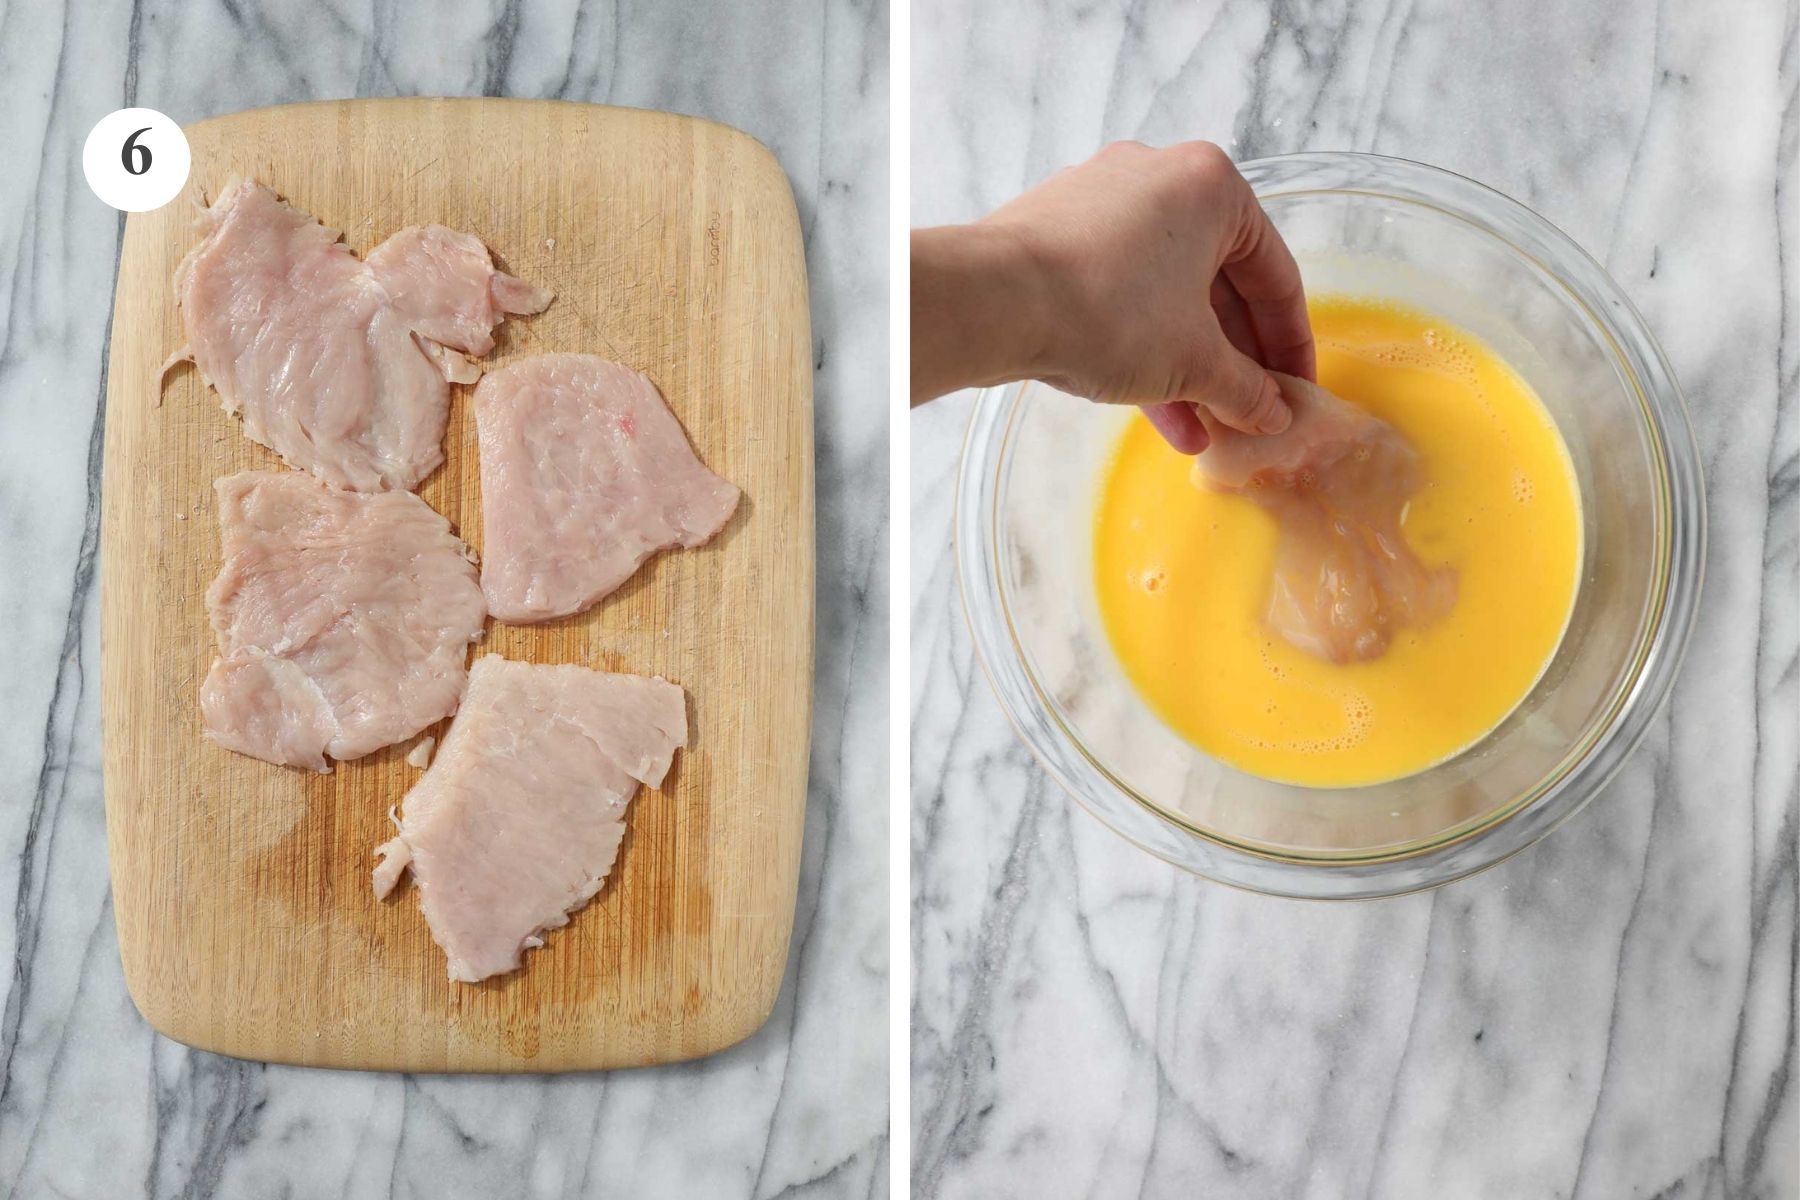
Step 6. Dip the chicken into the egg mixture and ensure that it is coated on both sides.
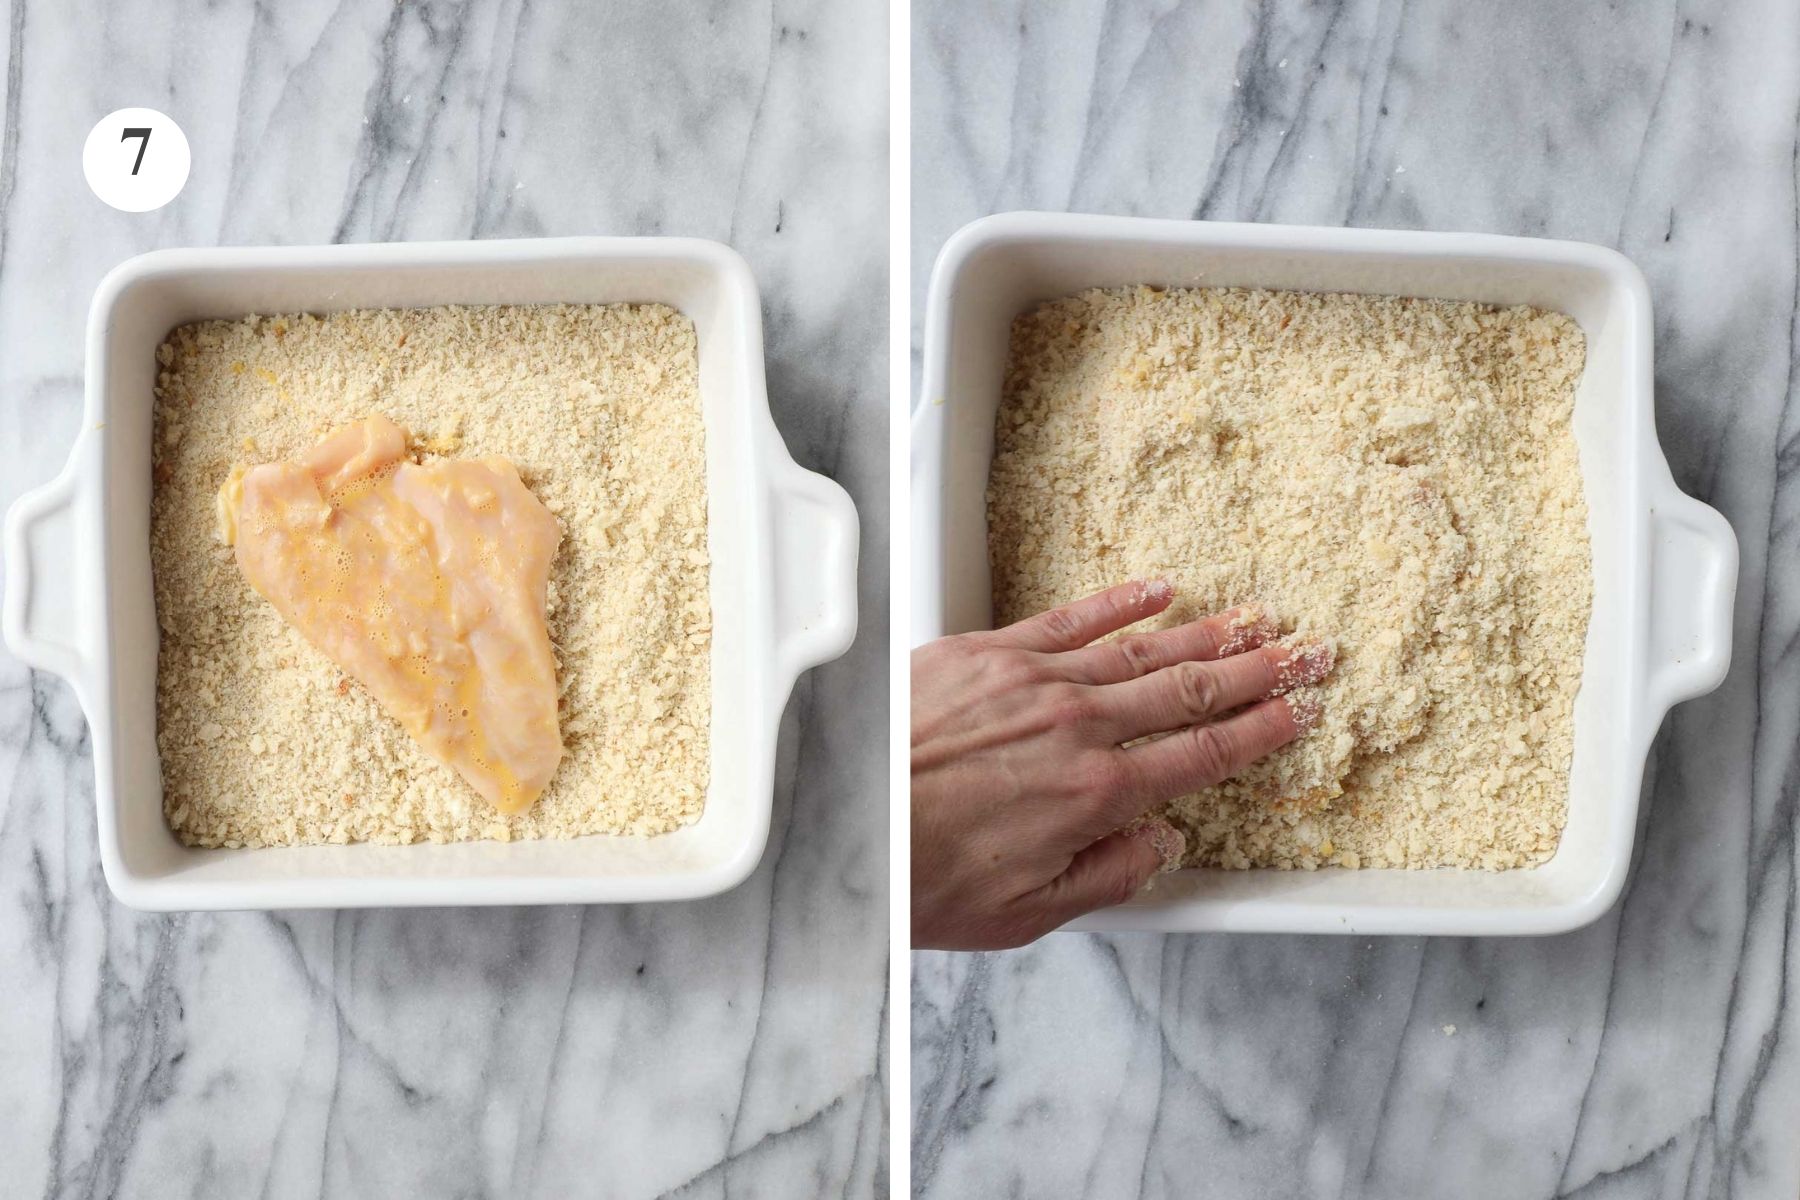
Step 7. Bring a large saute pan to medium heat. If you're using an electric stove top, this should be a "4" on a scale of "1-10". Any hotter than this and the oil is more likely to smoke and the chicken is more likely to burn quickly.
Add 2 tablespoons of olive oil to the pan.
Place the chicken flat in the panko mixture. Flip the chicken over. Then, with your fingers pick up the panko mixture and press it firmly into the chicken. Flip the chicken one more time and press more panko into the chicken.
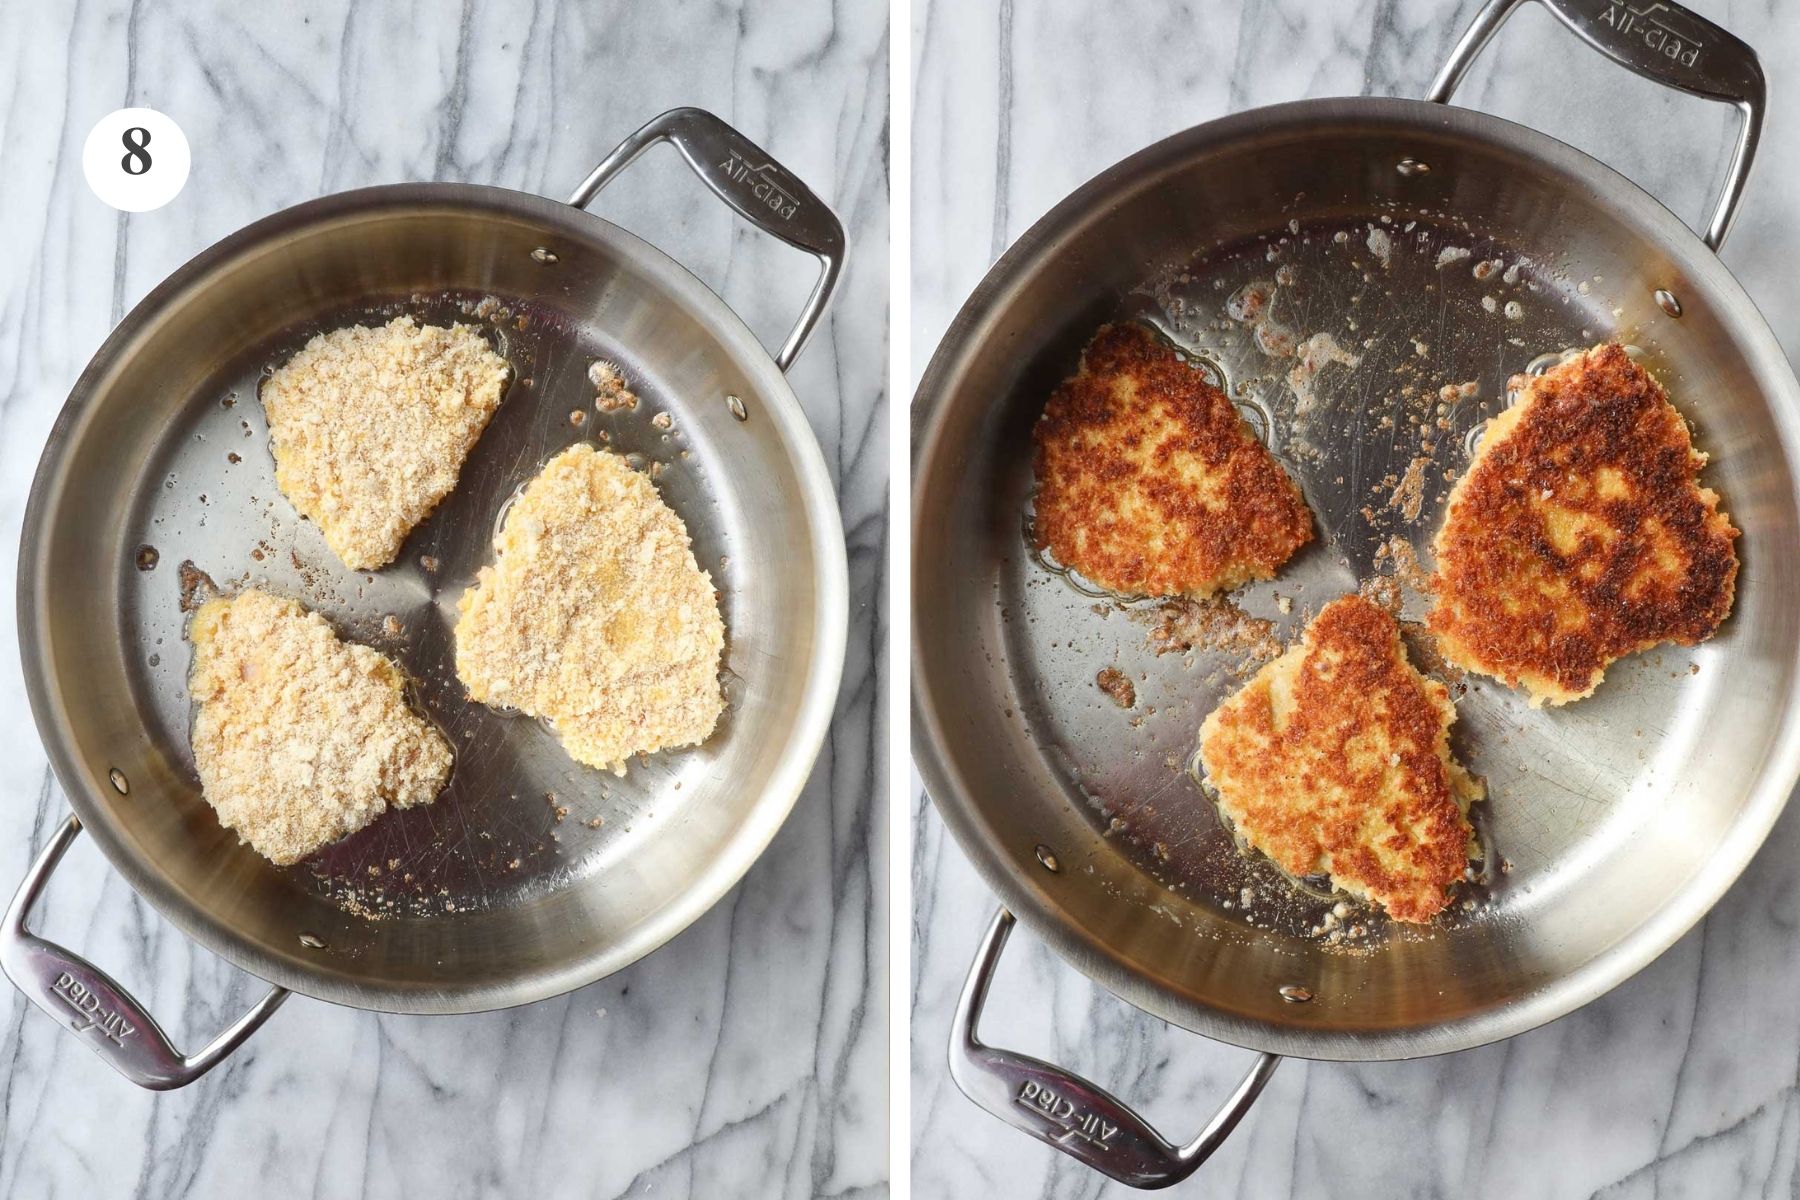
Step 8. Add the panko-coated chicken to the pan. Leave it undisturbed for 2-3 minutes until the bottom becomes lightly browned. Then flip over. Add more olive oil as needed so that the bottom of the pan is always coated in a very thin layer of olive oil. Cook for 1 - 2 more minutes.
Place the chicken on a cookie drying rack with a papertowel underneath to catch any excess olive oil that drips off.
Serve with the bruschetta topping and pesto, which can either be gently spooned on top of the chicken (wait until right before serving), or served on the side. Serving the bruschetta and pesto on the side will help to maintain that crispy exterior on the chicken.
Tips and Tricks to Crispy Breaded Chicken
I use a few tricks to make my panko-breaded chicken extra crispy and delicious.
- Add Freshly Grated Parmesan To The Panko: This adds more savoriness and flavor to the breading. In this recipe, it's just a ½ cup. I would highly recommend buying a wedge of parmesan and grating it yourself. It tastes better and you avoid consuming the anti-caking agents that are in the pre-grated version. I love the parmesan at Trader Joe's because it is not too expensive and the flavor is not too intense.
- Press The Panko Into The Chicken: Second, when coating the chicken pieces in the panko I press the panko firmly into each side of the sliced and tenderized chicken breast, adding more panko and pressing more when needed.
- Use extra virgin olive oil in the pan: Add additional olive oil as needed to have a thin coating of olive oil on the bottom at all times. When using olive oil be careful not to have the pan too hot or it will start to smoke. Using extra virgin olive oil instead of an oil like vegetable oil adds additional flavor to the breading and the chicken.
- Place the crispy chicken on a cookie drying rack: When removing the chicken from the plan place it on a drying rack with a layer of paper towels underneath. This prevents the chicken from getting soggy on the bottom while you are working on the remaining batches of chicken, resulting in crispier, crunchier chicken. You can even bring it to the table served on the drying rack.
What To Make With Pesto Bruschetta Chicken
- Sautéed Veggies: Baby broccoli, asparagus, green beans. Because you are putting in the effort to make the crispy chicken and the bruschetta, and possibly the pesto it's best to keep any sides super simple. I will typically make sauteed baby broccoli cooked in 1-2 tablespoon olive oil with a sprinkle of salt, using the same pan as the chicken, wiping it clean first. You could also make asparagus or green beans, either in a pan or steamed.
- Simple Salad: Another strategy is just to serve it with a simple salad. The simpler the better given that all your energy will be on making the chicken and the bruschetta. Especially with a dish like crispy chicken, I like a green veggie to balance it out, but I’ve listed a few alternatives below.
- Fresh mozzarella, diced
- Pasta
- Quinoa
- Rice pilaf
How To Store And Reheat Leftovers
To Store: Store the chicken, bruschetta, and pesto all separately. If stored together the chicken will get soggy.
To Reheat: The best way to reheat the chicken is to add it to a saute pan with a little more olive oil and cook for 2 minutes. Then flip over and cook for 1 more minute. This way the chicken will become crispy. Otherwise, just microwave the chicken on a plate at 50% power for 30 seconds to 1 minute depending on how many you are heating up a time.

If you're looking for other dinner recipes, you may love these:
If you tried this Pesto Bruschetta Chicken or any other recipe on my website, please leave a 🌟 star rating and let me know how it went in the 📝 comments below. Thanks for visiting!

Pesto Bruschetta Chicken
Ingredients
Bruschetta Topping
- 6 roma tomatoes, seeded and diced
- 1 small clove garlic, sliced down the middle inner stem removed, and minced
- 1 small handful fresh basil leaves, minced
- 1 tablespoon extra virgin olive oil
- 1 tablespoon balsamic vinegar
- salt to taste
Pesto (store bought or homemade, recipe follows)
- 4 cups fresh basil leaves, packed, roughly chopped approximately 5 oz
- 1 cup freshly grated parmesan cheese
- 1+ cup good quality extra virgin olive oil
- 1 clove garlic, sliced down the middle inner stem removed, and minced
- ¼ cup pine nuts, minced, optional
- 5-10 cranks salt
Crispy Chicken
- 3 cups panko
- ½ cup freshly grated parmesan cheese
- ½ teaspoon salt
- 3 large eggs
- 1 lb chicken breast
- 2+ tablespoon extra virgin olive oil
Instructions
Bruschetta Topping
- Place the diced tomatoes in a shallow Tupperware or dish and add the garlic, minced basil, olive oil, balsamic vinegar and a few cracks of salt to taste. Stir to combine. Cover, place in the fridge and let marinade while you prepare the chicken.
Pesto
- Add the basil, parmesan cheese, 1 cup olive oil, salt, garlic and pine nuts if using, to a blender. Blend on low speed until it forms a smooth sauce. Add additional olive oil up to ½ cup if needed.
Crispy Chicken
- In a shallow square baking dish combine the panko, parmesan, and salt.
- In a separate shallow baking dish whisk the eggs.
- Cut each chicken breast in half lengthwise, and then in half again so that you have 4 thin pieces. Place on a cutting board and cover with a large sheet of parchment or wax paper. Using a meat tenderizer, pound the meat so that it is thin, but not too thin.
- Bring a large sauté pan to just below medium heat (think 4 out of 10). Add 2 tbsps olive oil and allow to warm through for 1 minute.
- Dip the chicken in the egg, then the panko. Press the panko firmly into the chicken with your fingers on each side.
- Working in batches, place the chicken in the sauté pan and cook undisturbed for 2 minutes. Check to see that the bottom is golden brown, then flip and cook on the other side for 2 more minutes. Do not over crowd the pan. Add olive oil as you go so that the bottom of the pan is always covered in a thin layer of olive oil.
- Place paper towels under a cookie drying rack. Remove the chicken from the pan when it is brown and crispy on both sides and put it on the drying rack while working on the remaining batches. This allows the excess olive oil to drip on to the paper towels below, but keeps the bottom of the chicken crispy rather than soggy.
To Assemble
- Place the chicken on a large serving platter and top with bruschetta and a drizzle of basil pesto. Or alternatively serve the chicken, bruschetta, and pesto separately so that individuals can assemble their own toppings. If adding the bruschetta on top of the crispy chicken on a serving platter (which looks really pretty), serve immediately or the juice from the bruschetta will start to make the breading on the chicken soggy.
Notes
- Add Freshly Grated Parmesan To The Panko: This adds more savoriness and flavor to the breading. In this recipe, it's just a ½ cup. I would highly recommend buying a wedge of parmesan and grating it yourself. It tastes better and you avoid consuming the anti-caking agents that are in the pre-grated version. I love the parmesan at Trader Joe's because it is not too expensive and the flavor is not too intense.
- Press The Panko Into The Chicken: Second, when coating the chicken pieces in the panko I press the panko firmly into each side of the sliced and tenderized chicken breast, adding more panko and pressing more when needed.
- Use extra virgin olive oil in the pan: add additional oil as needed to have a thin coat of oil on the bottom. When using olive oil be careful not to have the pan too hot or it will start to smoke. Using extra virgin olive oil instead of an oil like vegetable oil adds additional flavor to the breading and the chicken.
- Place the crispy chicken on a cookie drying rack: When removing the chicken from the plan place it on a drying rack with a layer of paper towels underneath. This prevents the chicken from getting soggy on the bottom while you are working on the remaining batches of chicken, resulting in crispier, crunchier chicken. You can even bring it to the table served on the drying rack.


Leave a Reply
You must be logged in to post a comment.