These Sourdough Pumpkin Waffles are crispy on the outside, airy in the middle, made with pumpkin puree, sourdough, and cinnamon for the perfect fall or winter breakfast.
It’s a super simple and easy recipe that can be made the morning of with sourdough discard or prepped the night before for a streamlined morning, just like these Crispy Discard Sourdough Waffles.

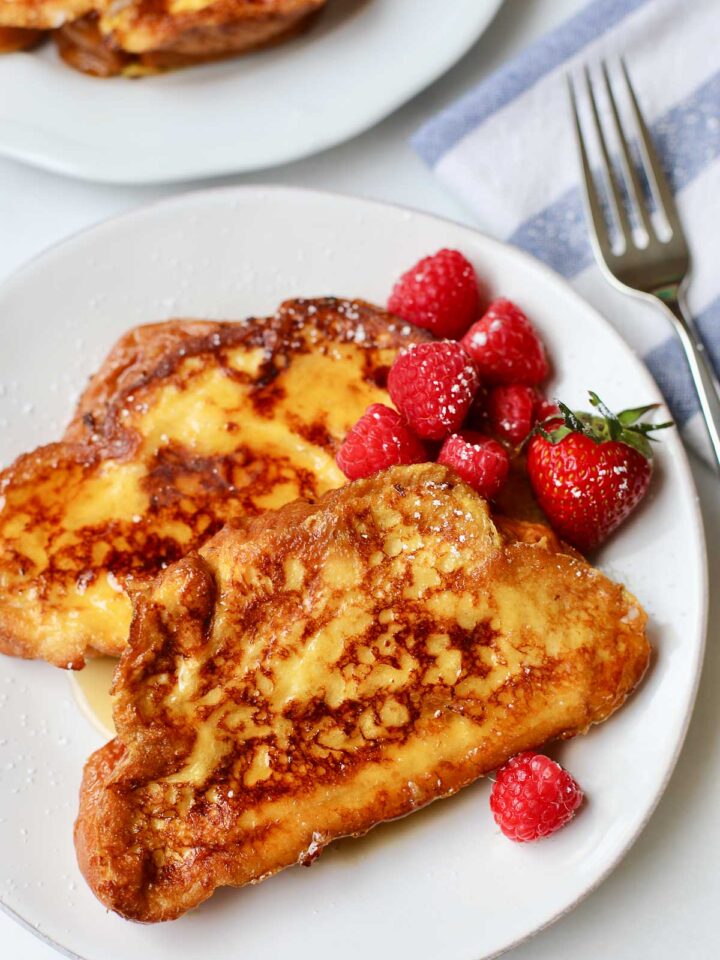
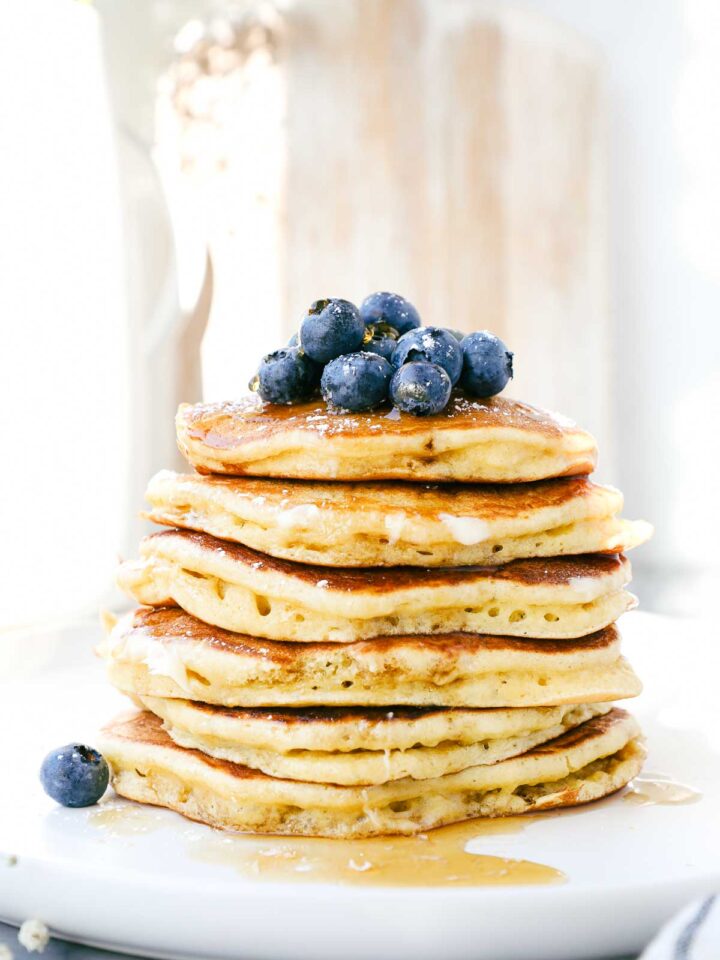
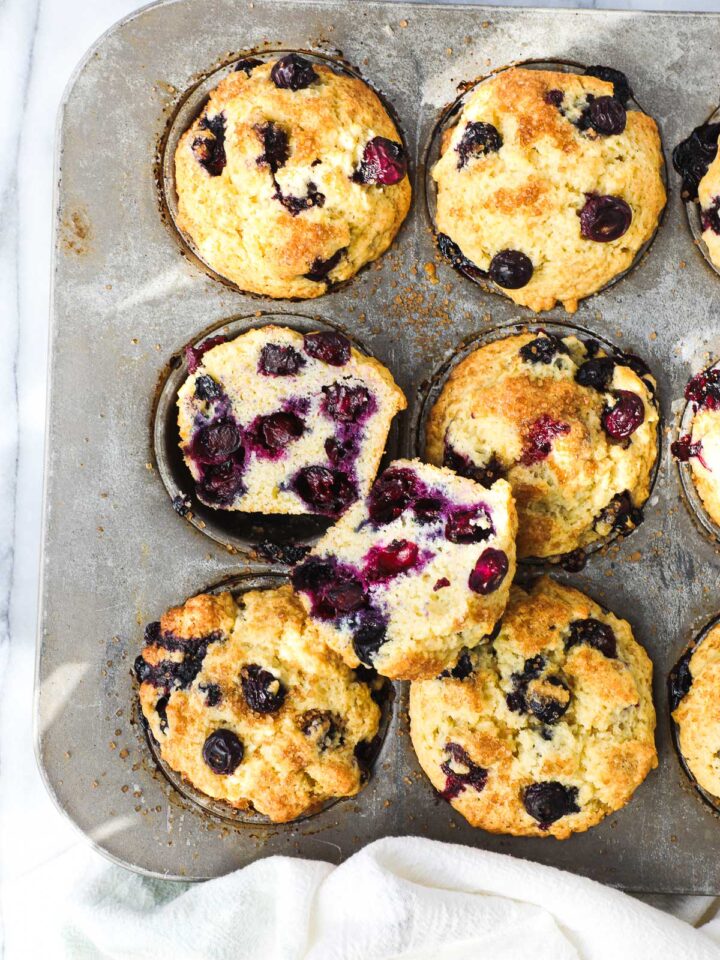
I’ve made lots of baked goods using sourdough discard, from waffles to pancakes to muffins, like these Banana Sourdough Pancakes or Banana Sourdough Muffins, to scones like Blueberry Sourdough Scones or Strawberry Sourdough Scones (these are awesome).
They are great resources when you’re looking for ways to use your sourdough discard rather than have it go to waste.
Jump to:
🥣 To Prep Ahead
If you’re interested in prepping these waffles the night before, here are the modified instructions. It simplifies getting a special breakfast on the table in the morning. Plus, waffles are super fast.
- Combine the whole milk and vinegar, let sit 10 minutes. Add the sourdough discard, sugar, cinnamon, and flour and combine. Let it sit, covered, in the fridge overnight.
- In the morning, add the baking soda, salt, melted and cooled butter, eggs, and pumpkin puree. Proceed as indicated in the recipe below (prep the waffle iron and pour the batter!).
🛒 Ingredients
Below are the ingredients needed to make Sourdough Pumpkin Waffles.

- Milk: Use whole milk. It has higher fat content and adds more flavor. If you don’t have whole milk, 1% or 2% will work in a pinch.
- Vinegar: Curdles the milk to create a homemade buttermilk.
- Sourdough Discard: Creates a light and airy interior. You can use active sourdough starter or sourdough discard.
- Butter: I use salted butter.
- Eggs: Use large eggs, pasture raised if possible. Room temperature eggs help, but it's not strictly necessary.
- Pumpkin Puree: Use canned pumpkin puree, not pumpkin pie filling. If you have leftover pumpkin, you can use it to make these Sourdough Pumpkin Scones.
- Flour: Use all-purpose flour, unbleached.
- Granulated Sugar: Adds subtle sweetness, but also helps with activating the sourdough discard.
- Baking Soda: For extra leavening.
- Salt: To bring out flavor.
- Cinnamon: Use a high-quality cinnamon. It makes a big difference. I like Ceylon Cinnamon from a brand called Simply Organic, found at Whole Foods.
- Topping Ideas: Butter, maple syrup, pecans, fresh berries or fresh fruit, chocolate chips, Nutella, or whipped cream.
See the recipe card below for full information on ingredients and quantities.
📝 How to Make Sourdough Pumpkin Waffles
Below are the step-by-step instructions for how to make Sourdough Pumpkin Waffles.
Note: The recipe card with instructions, ingredient list, and quantities is included further below these step-by-step photos.

Step 1. Wet Ingredients: In a large bowl, combine the milk and vinegar. This creates a thicker, buttermilk-like ingredient. The waffles will not taste like vinegar. Let sit for 10 minutes.
Add the sourdough discard, melted and cooled butter, eggs, and canned pumpkin puree and combine.
Step 2. Dry Ingredients: In a medium bowl, combine the flour, sugar, baking soda, salt, and cinnamon. Add the dry ingredients to the pumpkin mixture and combine.

Step 3. Make the Waffles: Preheat the waffle iron. I preheat my waffle iron to the highest setting.
Pour the batter into the waffle iron, leaving a small amount of room so that excess batter does not spill out of the waffle iron. Remove when the waffles are golden brown and crispy. This may be longer than what the waffle iron indicates as done.
Remove the waffles with tongs and a fork and set them on a wire cooling rack. This allows for air circulation under the waffles, which helps to keep them crispy. Do not stack the waffles, or they will start to soften.

🧇 Tips for Making Belgian Waffles
- Don't Rely on the Waffle Iron Indicator: The waffles may need more time than the waffle iron indicates. For crispy waffles, leave the waffles in the iron until they are a deep golden brown and crispy.
- Use a Cooling Rack: Transfer the waffles straight from the waffle iron to a wire cooling rack (or cookie drying rack). This helps to ensure air circulation under the waffles, which prevents the underside of the waffles from steaming and becoming soft.
- Extra Crispy Waffles: For extra crispy waffles, bake the waffles in the oven at 300°F for 3 minutes max, or transfer them back to the waffle iron for a minute or two to crisp up.
- Spreadable Butter: For easy spreadable butter, microwave your butter at 20% power for 30 seconds (and more as needed) to soften it before spreading it on the waffles.
❄️ Storage and Reheating
- To Store: Store in the fridge in an airtight container for 3-5 days.
- To Freeze: Place in a gallon-sized freezer bag or other airtight container in the freezer for up to 3 months.
- To Reheat: Reheat in the toaster oven (they should fit right in!), at 300 in the oven, or back in a preheated waffle iron.

💖 For More Breakfast Recipes You May Love


If you make these Sourdough Pumpkin Waffles or any other recipe on my site, please leave a 🌟 star rating and let me know how it went in the 📝 comments below. I'd love to hear from you!

Sourdough Pumpkin Waffles
Ingredients
- 460 g whole milk
- 2 tablespoon white vinegar
- 100 g sourdough discard
- ½ cup butter, melted and cooled
- 2 large eggs, room temperature
- 1 cup canned pumpkin puree
- 250 g all-purpose flour
- 2 tablespoon granulated sugar
- 1 teaspoon baking soda
- 1 teaspoon salt
- 1 teaspoon cinnamon
Instructions
- In a large bowl, combine the whole milk and vinegar. Let it sit for 10 minutes to allow the vinegar to curdle the milk. This creates a thicker, buttermilk-like ingredient. You will not taste the vinegar.
- Add the sourdough discard, melted and cooled butter, and pumpkin puree.
- In a separate bowl, whisk the flour, sugar, baking soda, salt, and cinnamon. Add the dry ingredients to the wet ingredients and combine.
- Preheat the waffle iron. Pour the batter into the waffle iron and cook until crispy, but not burned. For my waffle iron, this means that I set the temperature to the highest setting and I leave the waffle in longer than the waffle iron indicates. Adjust based on your waffle iron and its settings.
- Using tongs and a fork, remove the waffle and place it on a cookie drying rack. This creates air circulation under the waffles, which helps the waffles to stay crispy.
Notes
- Don't Rely on the Waffle Iron Indicator: The waffles may need more time than the waffle iron indicates. For crispy waffles, leave the waffles in the iron until they are a deep golden brown and crispy.
- Use a Cooling Rack: Transfer the waffles straight from the waffle iron to a wire cooling rack (or cookie drying rack). This helps to ensure air circulation under the waffles, which prevents the underside of the waffles from steaming and becoming soft.
- Extra Crispy Waffles: For extra crispy waffles, bake the waffles in the oven at 300°F for 3 minutes max, or transfer them back to the waffle iron for a minute or two to crisp up.
- Spreadable Butter: For easy spreadable butter, microwave your butter at 20% power for 30 seconds (and more as needed) to soften it before spreading it on the waffles.


Leave a Reply