
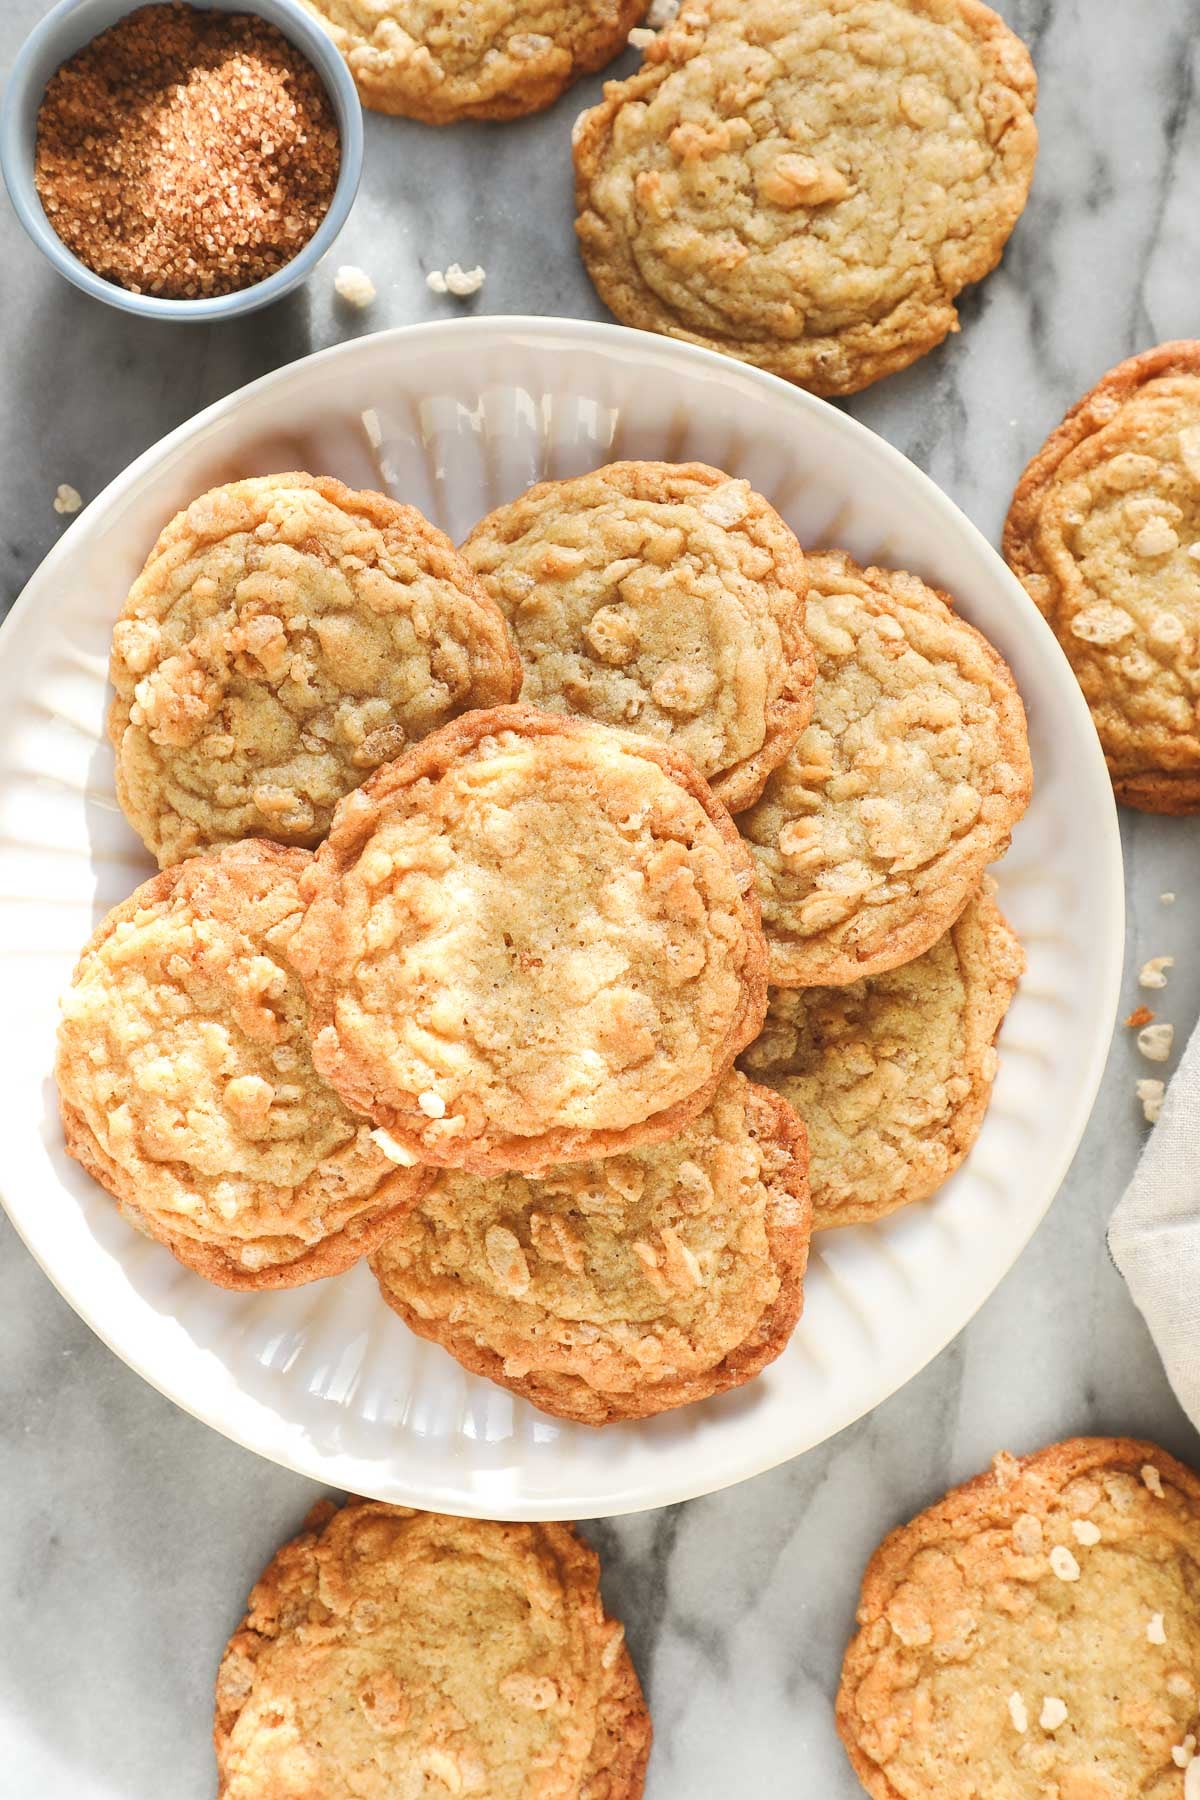
These Crispy Rice Krispie Cookies have crispy rippled edges, a slightly chewy center, and crunchy Rice Krispies throughout. They taste just like a Rice Krispie Treat but in cookie form.
They come together quickly in under 30 minutes with simple ingredients, and the pan-banging technique gives them extra-crispy rippled edges.

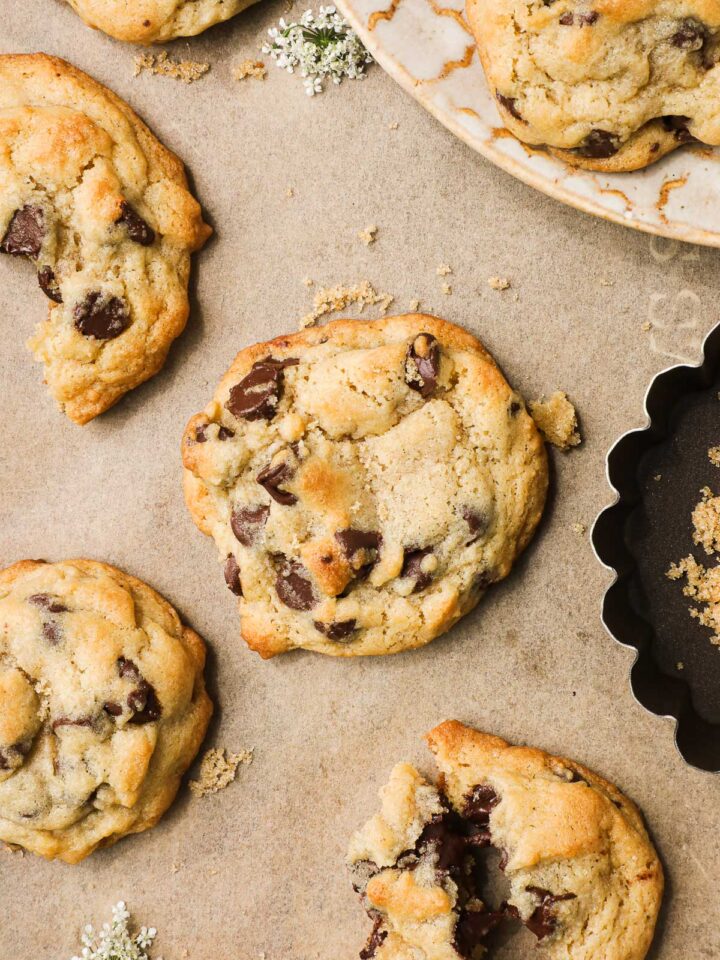
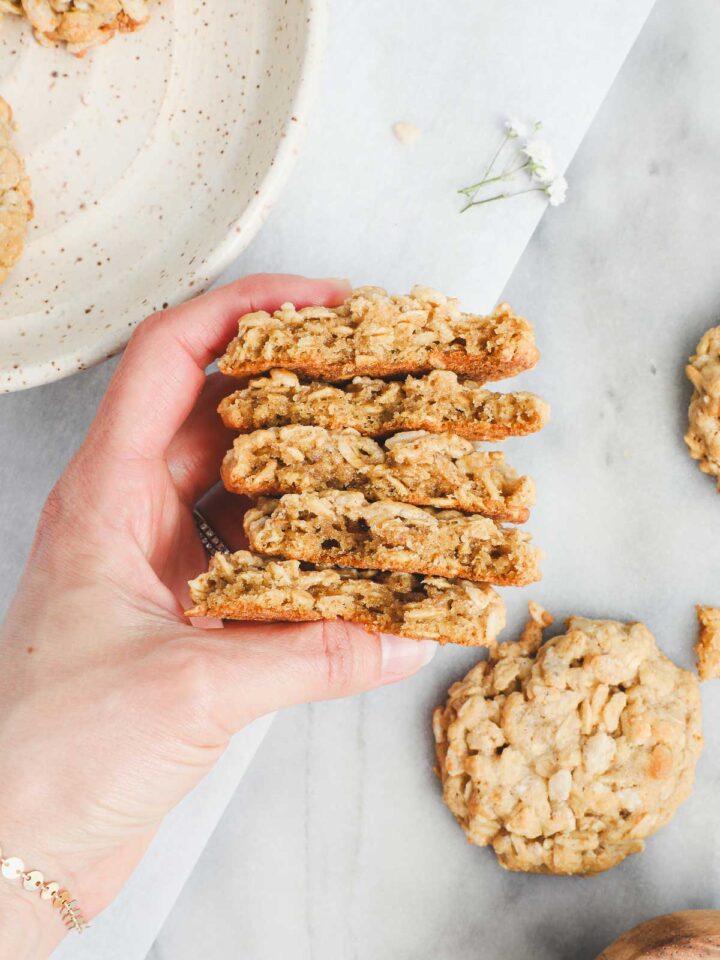
For More Rice Krispie Cookies, try Chocolate Chip Rice Krispie Cookies or Oatmeal Rice Krispie Cookies.
💡 Recipe Testing
I tested this recipe half a dozen times (and made it many times since), making some batches with a sugar cookie texture and others with a gooey cookie texture, but none were a match for the crispy Rice Krispies.
Ultimately, I landed on a cookie that is crispy throughout, accentuated by the Rice Krispies, with a slightly chewy center using the pan-banging technique (made popular by Sarah Kieffer of the Vanilla Bean Blog).

🍪 Pan-Banging Technique
These cookies use the ultra-simple and satisfying pan-banging technique. All this involves is opening the oven midway through baking, picking up the cookie sheet, and banging it back down on the rack.
This creates a crispy ripple on the outer edge of the cookie. The cookies continue to bake, and the centers puff up again. Bang the cookies a second time, creating another ripple. They puff up again, and bang the cookies one final time before removing them from the oven.
I use this same pan-banging technique in these Crispy Chocolate Chip Cookies.
🛒 Ingredients
Below are the ingredients needed to make Rice Krispie Cookies.

- Butter: Half of the butter is melted to get crispier cookies, but the other half is kept softened to prevent the cookies from being too melty.
- Granulated Sugar: This recipe uses more granulated sugar than brown sugar in order to get a crispier cookie.
- Light Brown Sugar: I use light brown sugar to keep the color of the cookies lighter, but dark brown sugar would work just fine.
- Egg: Use 1 large egg, pasture-raised if possible.
- Vanilla: Use real vanilla extract. You can get a large bottle at Costco for sometimes less than the small bottles at the grocery store.
- Baking Soda: Just ¼ teaspoon to prevent the cookies from puffing up too much.
- Salt: To balance and bring out flavor.
- Flour: Use all-purpose, unbleached flour.
- Rice Krispies: I use name-brand Rice Krispies Cereal. If you have leftover Rice Krispies, you can use them to make these Chocolate Dipped Rice Krispie Treats.
To learn more about these cookie ingredients, see my Guide to Cookie Ingredients.
See the recipe card for full information on ingredients and quantities.
📝 How to Make Rice Krispie Cookies
Below are the step-by-step instructions and photos for how to make Rice Krispie Cookies, including a close look at the pan-banging technique that helps to make crispy rippled edge cookies.
*Note: The recipe card with instructions, ingredient list, and quantities is included further below these step-by-step photos.

Prep: Preheat the oven to 350°F.
Step 1. Melt half of the butter: Place ¼ cup of butter in a small microwaveable bowl and microwave until melted, about 30 seconds. Place it in the fridge to cool down for 5 minutes. Then transfer it to the freezer for 5 more minutes. Keep an eye on it to make sure it doesn't freeze.
Step 2. Combine Softened Butter, Sugar, Egg, and Vanilla Extract: In a large mixing bowl, combine the remaining ¼ cup softened butter, granulated sugar, and light brown sugar. Add the large egg and vanilla extract and combine.

Step 3. Add the Melted Butter: Add the melted butter from the freezer to the cookie dough. The butter should be cool, but still liquid and not frozen.
Step 4. Add Baking Soda, Salt, and Flour: Add the baking soda, salt, and flour and combine. The dough will be quite soft, but not melty.

Step 5. Add the Rice Krispies: Add 1½ cups Rice Krispies cereal to the cookie dough and stir to combine. You'll start to hear the "Snap, Crackle, Pop!"

Step 6. Bake the Cookies using the Pan-Banging Technique (1st round): Portion 2½ tablespoons of dough for each cookie and place them on a baking sheet (6-8 per sheet).
Bake for 8 minutes at 350°F. The cookies will puff up in the oven. Open the oven and, using oven mitts, pick up the cookie sheet slightly and bang it back down on the rack in the oven. The cookies should deflate and create a single ripple on the outer edge.

Step 7. Second and Third Pan-Banging:
- Bake for 2 more minutes (for 10 minutes thus far), open the oven, and bang the cookie sheet down again, creating another ripple.
- Bake for a final 2 minutes (for 12 minutes total), bang the cookies down one last time, and remove them from the oven.
Tips for Making the Best Rice Krispie Cookies
- Measure by Weight: For the best cookies, weigh your ingredients in grams. Volume measurements are provided, but there is no standard method for measuring flour by volume, and brown sugar can be packed at different rates. The best way to be accurate is to use weight measurements.
- Half Melted, Half Softened Butter: Melting half of the butter, then cooling it down in the fridge and freezer is a quick way to incorporate cool melted butter into the cookie dough. This helps the dough to spread (but not too much), creating crispier cookies.
- Brown Sugar: Light brown sugar helps to keep the color of these cookies lighter. However, dark brown sugar can easily be substituted.
- Costco Version, Adding Marshmallows: If you want a chewier marshmallow version, like the Costco Rice Krispie Cookies, freeze the mini marshmallows first. Press 3-5 marshmallows into the tops of the cookies (aim for the center of the cookie, not the sides) rather than mixing them into the dough. Marshmallows that touch the pan will melt and burn. Bake the cookies for 8 minutes, bang the pan down, bake for 2 more minutes (for 10 minutes total), and remove them from the oven.
- Test Cookie: If this technique is new to you, bake 1 or 2 test cookies before baking a whole batch. This will give you a sense of whether you need to make any adjustments. Check for the following:
- Oven Temperature: whether your oven runs hot or cold (a separate oven thermometer helps here).
- Cookie Size: whether the dough is exactly 2½ tablespoons. Too small and they will get overcooked and not have enough real estate for those crispy ripples. Too large and the cookies spread too thin and are a bit unwieldy.
- Dough Temperature: whether the dough is too warm (if your home runs warm, chill the dough for 15-30 minutes).
For more tips and tricks, see my Guide to Making the Best Homemade Cookies.
✏️ Rice Krispie Cookie FAQs
Yes, you can mix in all sorts of different cereals. Special K would be a close substitute, but there are plenty of crunchy cereals that would work well.
Using the pan-banging technique three times gives the optimal number of ripples for this size cookie. However, you could definitely get away with two if you want to simplify the process.
I recommend using name-brand Rice Krispies as they are likely to stay crispier for longer.
Storage Tips
- To Store: Store the cookies in an airtight container at room temperature for 2-3 days.
- To Freeze: You can freeze either the cookie dough or the fully baked cookies. My preference is to freeze the cookie dough and bake a fresh warm batch when you are ready, but either works. The Rice Krispies will stay crispy.
- To freeze, shape balls of cookie dough, place them on wax paper on a baking sheet in the freezer for 15 minutes. Then transfer them to a gallon-sized freezer bag with as much air pressed out as possible and freeze for up to 1 month.
- To bake, bring the cookie dough to room temperature (it can thaw in the fridge overnight) and continue with the recipe as written below.
For More Cookie Ideas, You May Love These:


If you've tried these Crispy Rice Krispie Cookies or any other recipe on my site, please leave a 🌟 star rating and let me know how it went in the 📝 comments below. I'd love to hear from you!

Crispy Rice Krispie Cookies with Rippled Edges
Ingredients
- ¼ and ¼ cup butter, softened 113g
- ⅔ cup granulated sugar 132g
- ¼ cup light brown sugar 53g
- 1 large egg 50g
- 1 teaspoon vanilla extract
- ¼ teaspoon baking soda
- ½ teaspoon salt
- 1 cup all-purpose flour 140g
- 1½ cups Rice Krispies 42g
Instructions
- Preheat the oven to 350°F.
- Melt ¼ cup butter in a small bowl in the microwave. Place it in the fridge for 5 minutes to cool down. Then move it to the freezer for 5 more minutes to cool down further while you work on the rest of the dough.
- In a medium mixing bowl, combine ¼ cup softened butter, granulated sugar, and light brown sugar. Add the egg and vanilla extract, and combine.
- Add the melted butter from the freezer and combine. The butter should be cool, but not frozen.
- Add the baking soda, salt, and flour, and combine. Lastly, add the Rice Krispies and stir with a spoon to incorporate them into the dough.
- Scoop 2 ½ tablespoons (this amount is important) of dough for each cookie. Place the dough on a cookie sheet, about 6-8 cookies per sheet.
- Bake the cookies at 350°F as follows:Bake for 8 minutes. Open the oven, pick up the cookie sheet with oven mitts, and bang the cookie sheet down against the rack in the oven. Be careful not to burn yourself on the rack or oven door.Bake for 2 more minutes (for 10 minutes so far), open the oven, and bang the cookies again.Bake for 2 final minutes (for 12 minutes total), open the oven, bang the cookies, and remove the cookies from the oven. Allow to cool before transferring to a wire rack.
Notes
- Measure by Weight: For the best cookies, weigh your ingredients in grams. Volume measurements are provided, but there is no standard method for measuring flour by volume, and brown sugar can be packed at different rates. The best way to be accurate is to use weight measurements.
- Half Melted, Half Softened Butter: Melting half of the butter, then cooling it down in the fridge and freezer is a quick way to incorporate cool melted butter into the cookie dough. This helps the dough to spread (but not too much), creating crispier cookies.
- Brown Sugar: Light brown sugar helps to keep the color of these cookies lighter. However, dark brown sugar can easily be substituted.
- Costco Version, Adding Marshmallows: If you want a chewier marshmallow version, like the Costco Rice Krispie Cookies, freeze the mini marshmallows first. Press 3-5 marshmallows into the tops of the cookies (aim for the center of the cookie, not the sides) rather than mixing them into the dough. Marshmallows that touch the pan will melt and burn. Bake the cookies for 8 minutes, bang the pan down, bake for 2 more minutes (for 10 minutes total), and remove them from the oven.
- Test Cookie: If this technique is new to you, bake 1 or 2 test cookies before baking a whole batch. This will give you a sense of whether you need to make any adjustments. Check for the following:
- Oven Temperature: whether your oven runs hot or cold (a separate oven thermometer helps here).
- Cookie Size: whether the dough is exactly 2½ tablespoons. Too small and they will get overcooked and not have enough real estate for those crispy ripples. Too large and the cookies spread too thin and are a bit unwieldy.
- Dough Temperature: whether the dough is too warm (if your home runs warm, chill the dough for 15-30 minutes).

Anonymous says
Great texture and taste!
Lauren says
Thanks!
Rebecca says
Chewy and delicious!
Lauren says
Thanks, Rebecca!
Gwen DeGolier says
So, I baked these once. I'm known for my chocolate chip ones. I put some of these in the freezer? Not sure why cuz they were gone. I've now done double batches. Still eating them all by myself. I let my boyfriend had 1, wasn't that nice of me??? 🤔
Lauren says
Haha I love this, I do that too! Thanks for leaving a note!
Ttaft says
can these be frozen
Lauren says
Hi Tracy, Yes these cookies definitely can be frozen (before or after being baked). And even when frozen and baked later the Rice Krispies stay crispy.
Delicious! says
I made these cookies over the weekend, they were absolutely delicious! I fear that perhaps my batter was not liquid enough, the pan method didnt really work for me. My second batch where I forwent the pan banging came out the same haha. Thank you!
Lauren says
Thanks for your note and feedback on the pan banging method. I'm happy to hear that you enjoyed the cookies!
Ashley says
Can I prepare the cookie dough balls a head of time and bake the next morning?
Lauren says
Hi Ashley, You could make them ahead of time, but its possible that the Rice Krispies in the cookie batter will absorb some of the liquid from the dough when left for a longer period of time, softening them. This might make the cookies a bit less crispy, but I'm sure they'd still be good. Let me know if you do give it a try!
Morgan says
Do these use salted or unsalted butter?
Lauren says
Hi Morgan, I use salted butter. Though, feel free to use unsalted butter if you prefer less salt in your cookies.
C.C says
haven't tried these, yet. it seems if I add a 2 to 3 jet puff teaspoonsful to cookies, just before placing in the oven or a few minutes before completing the bake time, it could be similar to the Costco's marshmallow krispy cookies. those cookies are so delicious!
Lauren says
Hi CC, Yes! I've heard about the Costco cookies and recently picked some up to try myself. Then I tested my recipe several times to create a Costco Marshmallow Crispy Cookie variation. Freeze a few mini marshmallows before pressing them into the tops of the cookie dough, then reduce the baking time by 2 minutes. They'll taste just like the Costco ones!
I added a few notes to the recipe post and recipe card to explain the changes. Let me know if you have any questions!