
In this guide on How to Make Chocolate Chip Cookies, you'll get a look at everything you need to know to make the very best chocolate chip cookies, including how to cream butter and sugar, which ingredients are best, step-by-step instructions and photos, and all the success tips you need.
Press the Jump to Recipe button above to get straight to the recipe. Otherwise, read on to get an in-depth understanding of what goes into making these classic, irresistible cookies. Let’s get started!
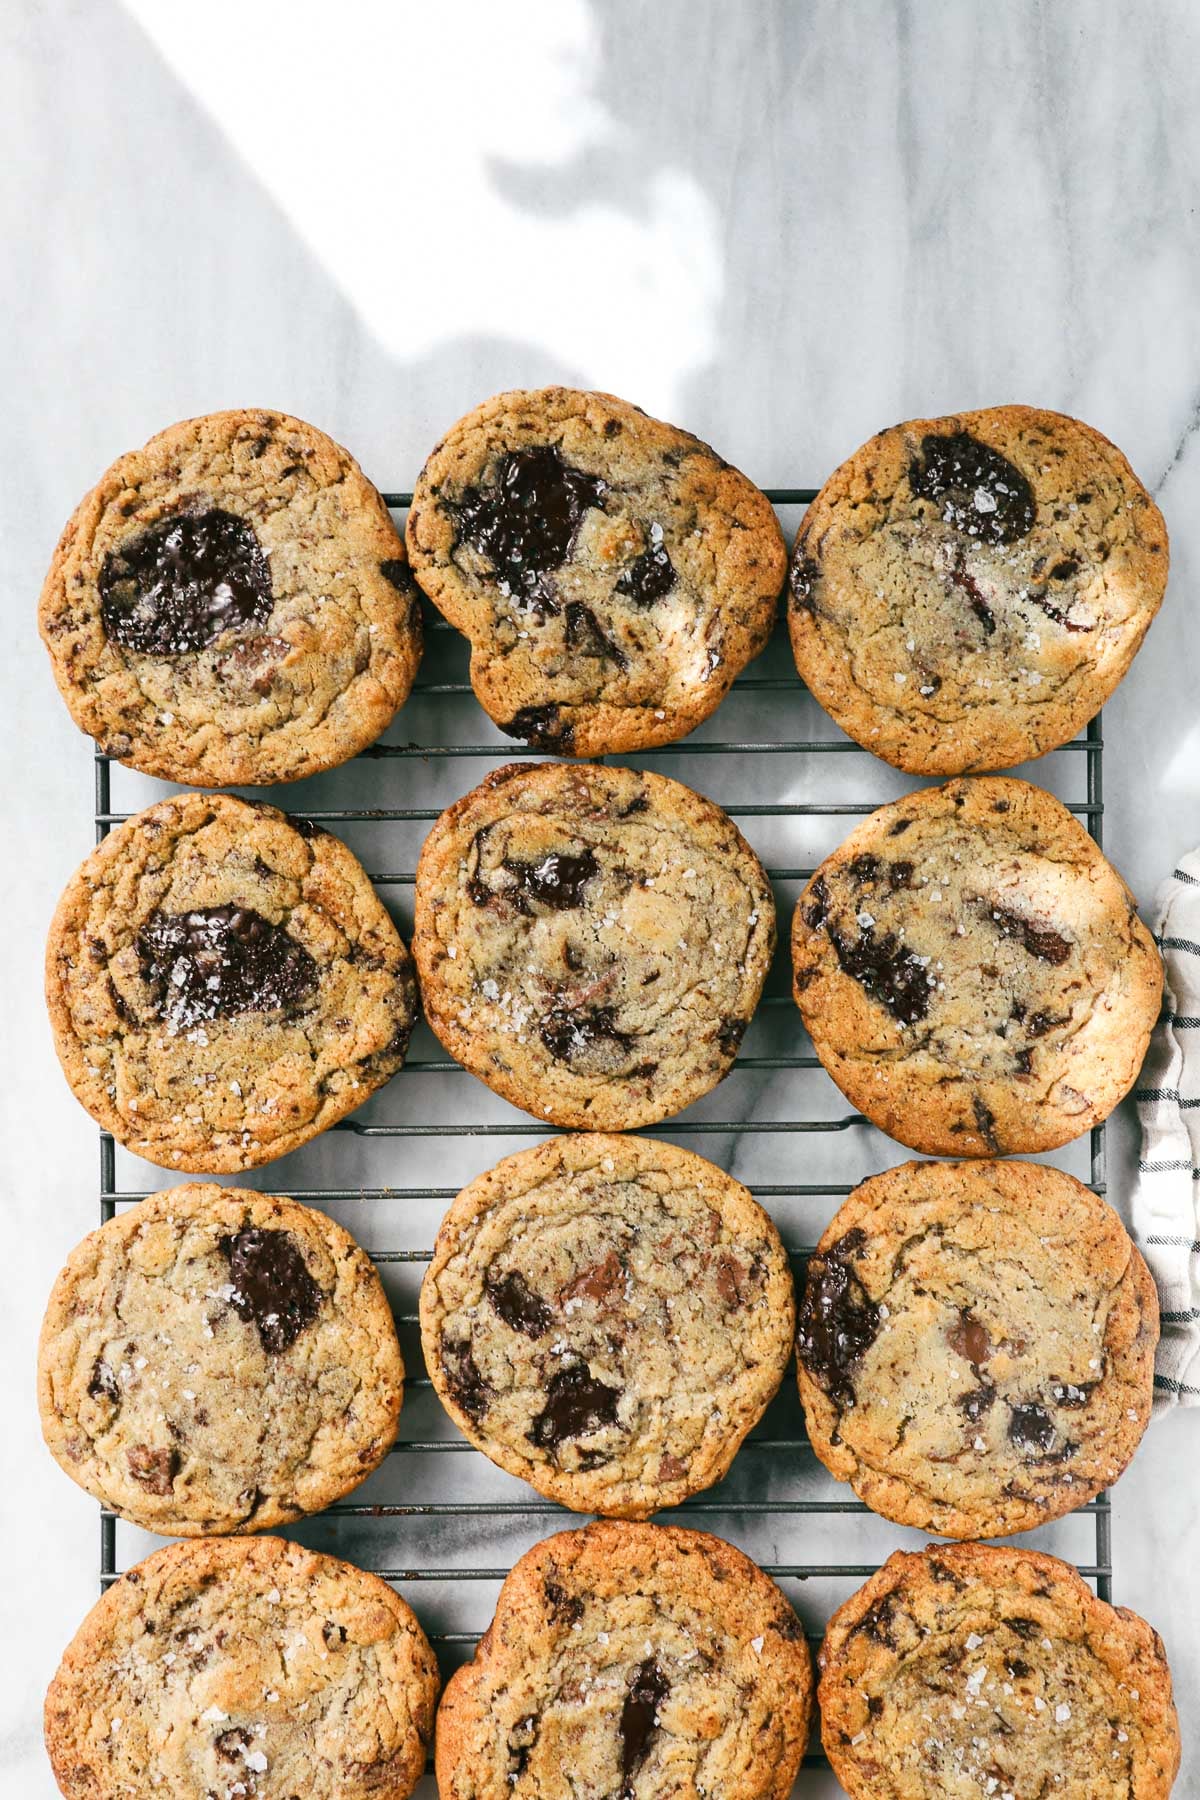
Where to Start:
- Gather Ingredients: First things first, gather your ingredients. More on those below, but be sure you have everything you need.
- Measuring Ingredients: For really great chocolate chip cookies, it is important to measure your ingredients in grams. This way you can be sure that you're adding the exact right amount of each ingredient. I know this can feel like a pain if you're not used to doing it, but it does make the biggest difference. You could be off by as much as a quarter cup of flour, and that would result in really different cookies.
- Planning: You'll need to refrigerate the dough overnight. Keep this in mind when planning to make these cookies.
Ingredients: Sourcing, Temperature, Impact on the Cookies
Below are detailed notes on the ingredients used to make Chocolate Chip Cookies.
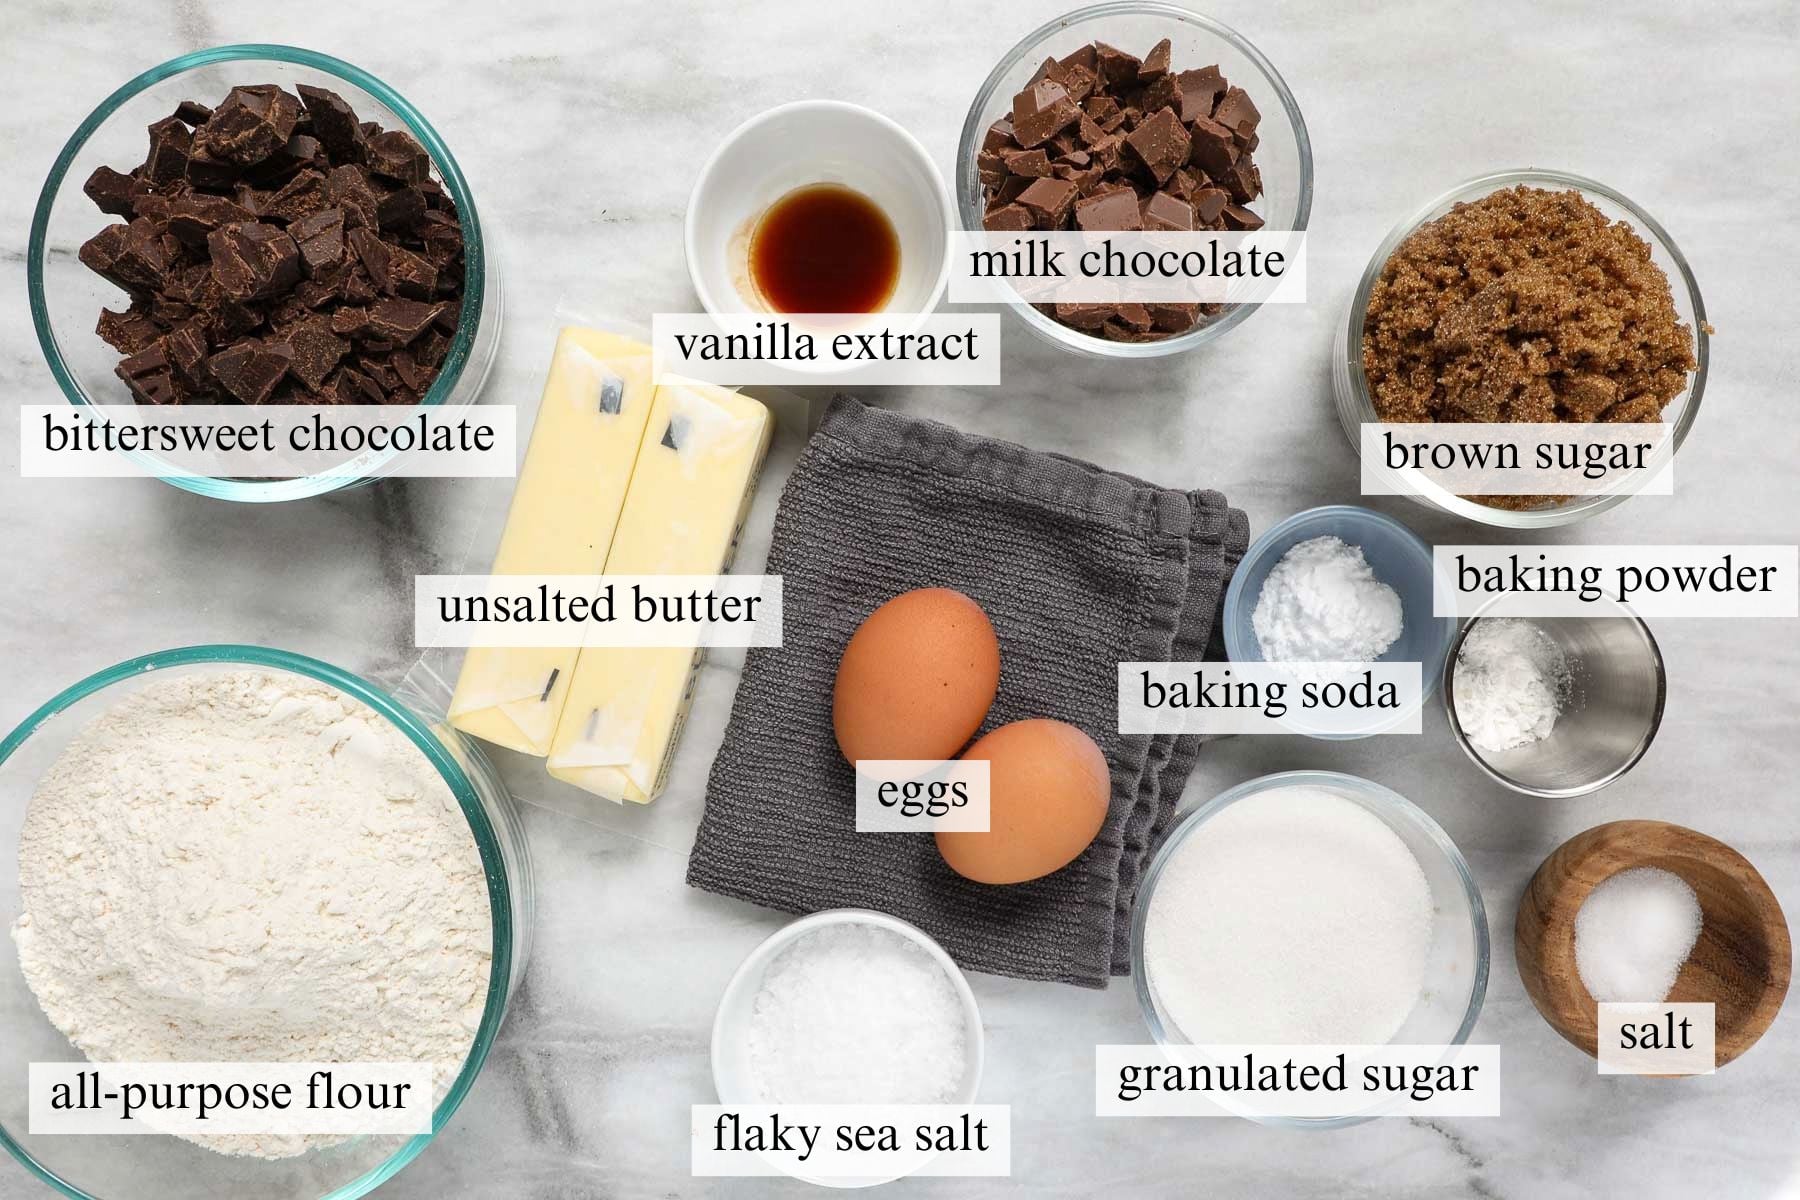
Flour:
Use all-purpose unbleached flour. This is the most important ingredient to measure by weight in grams. Using too little will result in cookies that melt and spread, and using too much will create cakey cookies.
Baking Soda:
Baking soda is a leavener that, when combined with an acid, creates carbon dioxide, which causes baked goods to rise. It also helps in browning and enabling cookies to spread. Be sure your baking soda is fresh.
Baking Powder:
Baking Powder contains both baking soda and cream of tartar (acid). This gives the cookies a little bit of extra lift so that they are not too thin and crispy. It gives the cookies a nice chewy center. Be sure your baking powder is fresh.
Salt:
Salt brings out flavor. It enhances the savory flavor of the butter and the sweet flavor of the chocolate.
Butter:
- Use unsalted butter. This allows you to control the exact amount of salt in the cookies. While many of the largest brands label their butter with the same amount of salt per unit volume, there is no way to tell exactly how much salt is in the butter. In addition, many smaller brands do use different amounts of salt in their salted butter.
- Ensure the butter has softened to a cool room temperature. You should be able to bend a stick of butter and not have it break or melt in your hands. When creaming room-temperature butter and sugar, the sugar, which is a crystal, cuts through the butter, aerating the butter. This creates microscopic air pockets within the butter, which adds air to the cookies.
- Creaming the butter and sugar for 5-6 minutes gives the cookies a chewy, lighter texture that is slightly crisp on the edges.
- If you mix the butter and sugar too little, you will not properly aerate the butter.
- If you mix the butter too long, it will cause the butter to melt and the air pockets to collapse.
Sugar:
I use a combination of brown sugar and granulated sugar, with a higher proportion of brown sugar.
You can use either light brown or dark brown sugar. Dark brown sugar will have a slightly more caramel taste due to the extra molasses in the brown sugar. It will also give the cookies a slightly darker color. However, the difference is quite small. So, either one works.
Eggs:
- Eggs act as an emulsifier, helping to combine the creamed butter and sugar with the dry ingredients. The egg yolks add fat, which adds flavor. The eggs also add moisture and help to activate the baking soda.
- Ensure that the eggs are at room temperature. If they are cold, they will cause the butter to seize up, getting in the way of that lighter cookie texture. To bring the eggs to room temperature quickly, place the eggs in a bowl of warm (but not hot) water for 1 minute.
- Crack the eggs into a separate bowl and whisk them together along with the vanilla extract. This ensures that no egg shells get into your cookie dough. It also creates a homogeneous egg mixture, preventing pockets of egg white, egg yolk, or vanilla extract from ending up in your cookie.
- Large eggs typically weigh 50g each. Occasionally, you can get one in a dozen that is a little bit larger, but weighing the eggs is much less important than weighing flour. However, keep in mind that eggs come in different sizes at the grocery store. Choose the large size.
Vanilla Extract:
Use real vanilla extract, not imitation vanilla. Vanilla extract can be fairly expensive per unit volume.
Wholesale stores like Costco typically sell large bottles for a much lower price per unit volume. It is a great option if you bake a lot (or even a medium amount). A bottle will last you a year or more even if you are an avid baker.
Chocolate:
Using high-quality chocolate will make the biggest difference in your cookies.
- I typically use Ghirardelli or Guittard, some of the oldest chocolate companies in the world, and their products are widely available. However, as ingredients have gotten more expensive, I have used other brands as well.
- Using both bittersweet and milk chocolate in one cookie provides depth of flavor with the milk chocolate adding more notes of caramel to the cookies.
- Use blocks or bars of chocolate that can be cut into chunks. Bars of chocolate have a different melting point than chocolate chips, and I’ve found that the chocolate chunks adhere better to and incorporate more evenly in the dough than chocolate chips.
Flaky Sea Salt:
Adding a pinch of flaky sea salt on the tops of the cookies right after they come out of the oven super enhances the flavors of the cookies as soon as they hit your tongue.
Furthermore, adding the flaky sea salt right after the cookies come out of the oven allows you to cover more surface area of the cookies, and the warmth of the cookies helps the salt to stick. I use Morton’s Flaky Sea Salt.
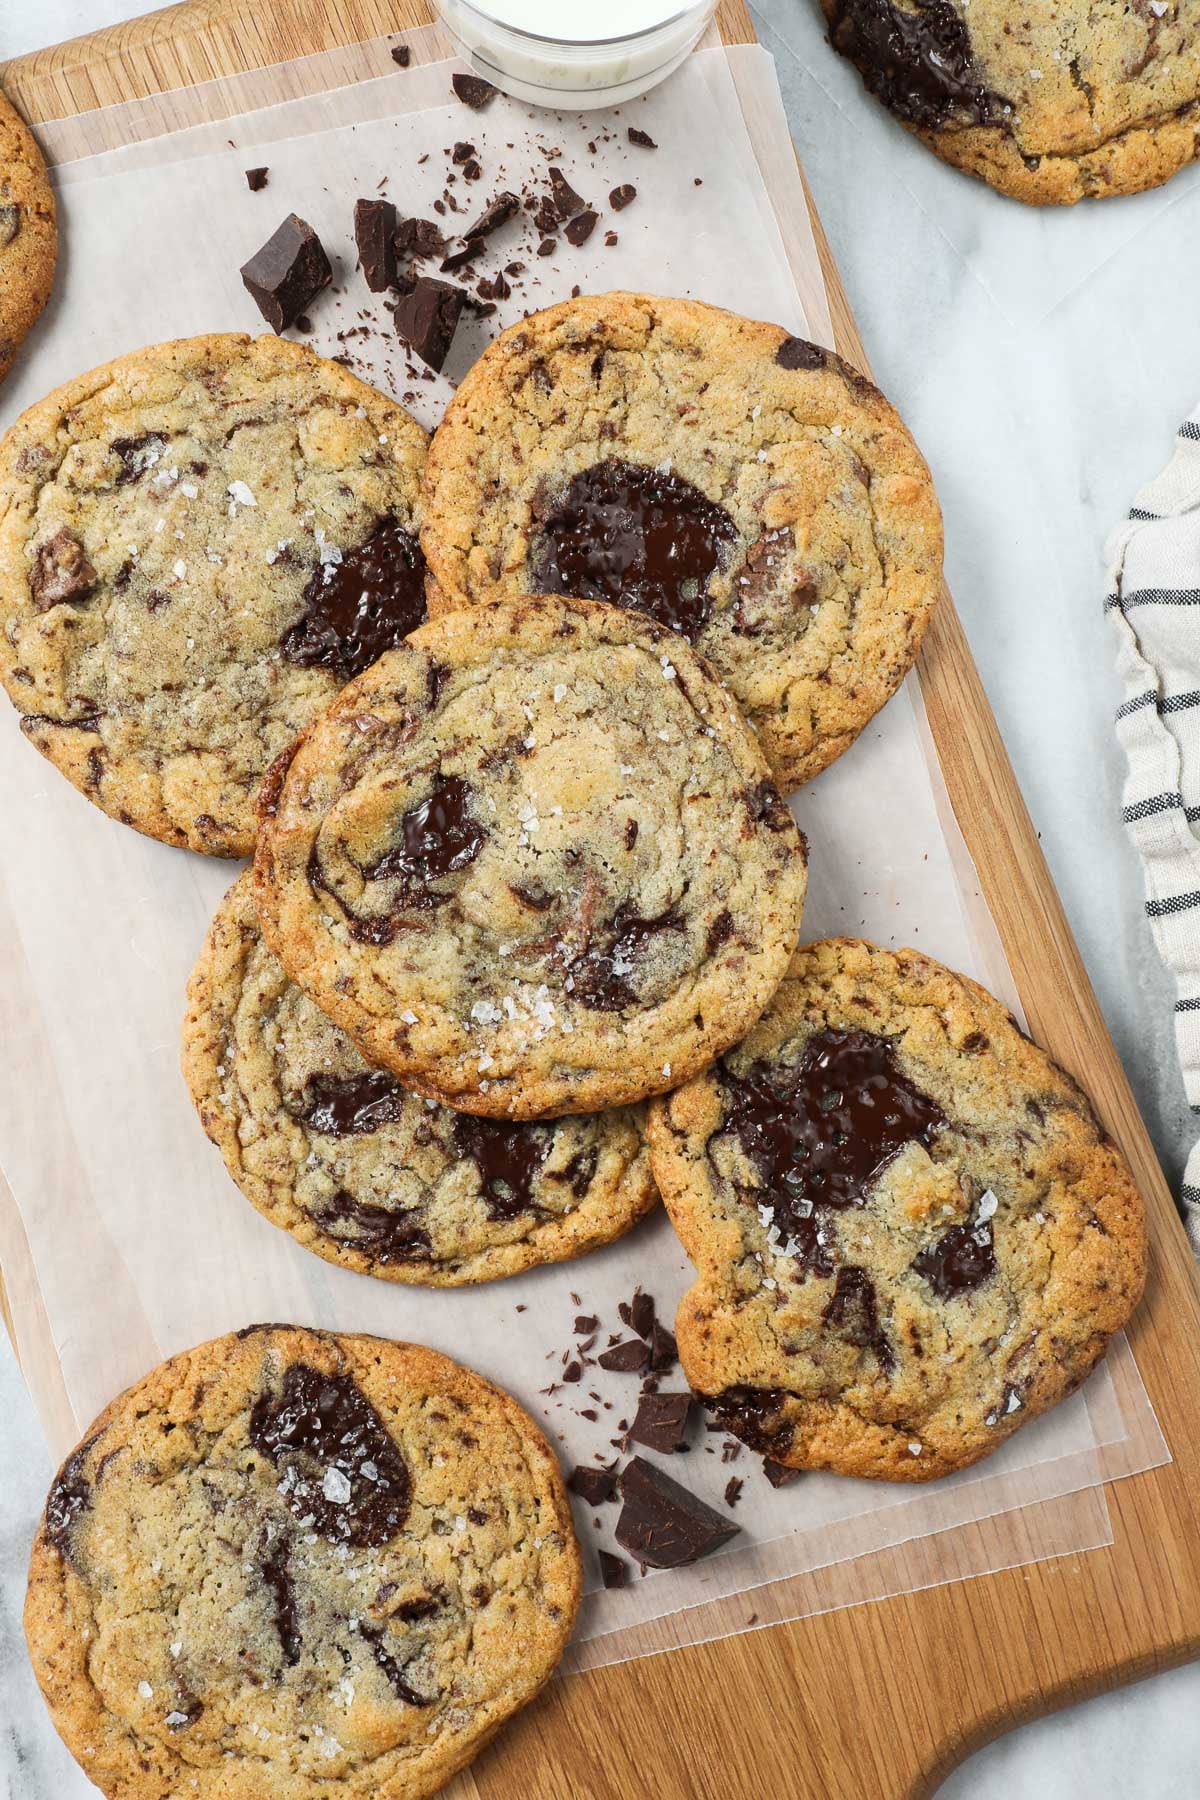
What To Know About Your Oven
- Your oven’s temperature reading is often not reliable. The temperature shown on the front of your oven is particularly problematic when preheating the oven. Your oven may show that it has fully preheated, but it may not be even close. That is why preheating for at least 30 minutes is helpful.
- Some ovens run hot, some run cold, and some maintain their heat during baking poorly or unevenly. When an oven hits a set temperature, the heating element pauses only to kick back in when the temperature has dropped, trying to bring it back up to the set temperature. Depending on your oven, it can do this more or less successfully.
- One of the most helpful tools is a separately purchased oven thermometer that gets placed in the oven to read the actual temperature. I know, another thing that's kind of a pain, but you may be quite surprised at what you see, especially if you place the thermometer in different locations in the oven and check it throughout the baking time.
How to Make Chocolate Chip Cookies
Below are the step-by-step instructions and photos for How to Make the Very Best Chocolate Chip Cookies.
Keep in mind that to make these cookies, it is important to refrigerate the dough overnight.
*Note: The recipe card with instructions, ingredient list, and quantities is included further below these step-by-step photos.
Prep: Before you get started, gather and prepare all of your ingredients (the French term for this is mise en place).
- Weigh your ingredients to be sure that you have the accurate amount. In particular, it's important to weigh the flour, brown sugar, granulated sugar, and chocolate.
- Ensure that your butter is at a cool room temperature.
- Ensure that your eggs are also at room temperature. If they are coming straight from the fridge, place them in a bowl of warm, but not hot, water for 1 minute.
- Add the flour, baking soda, baking powder, and salt to a medium bowl and mix by hand to combine.
- Cut the chocolate into chunks of various sizes up to ½ inch.
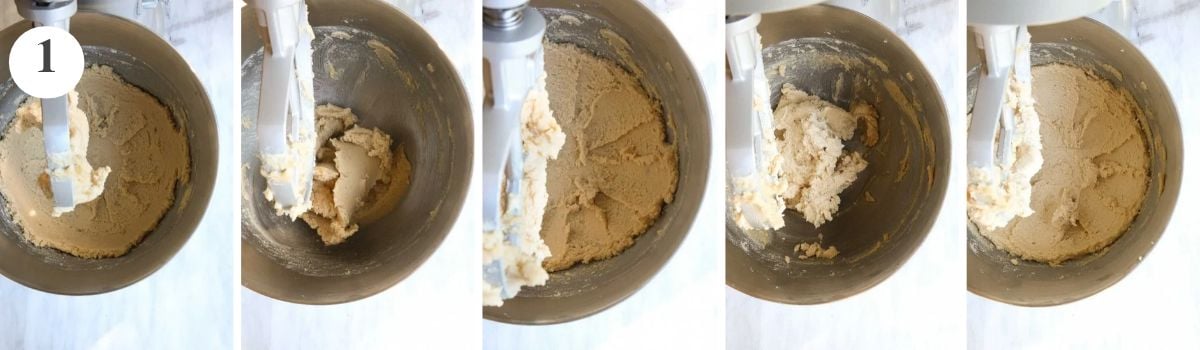
Step 1. Cream Butter and Sugar:
Add the softened butter, granulated sugar, and brown sugar to the bowl of a stand mixer fitted with a paddle attachment.
- Start the mixer at low speed and quickly increase to medium speed for 2 minutes.
- Pause the mixer to scrape down the sides of the bowl and the paddle.
- Mix again at medium speed for 1 minute.
- Scrape down the bowl and paddle again.
- Mix one last time for 2-3 minutes until the mixture becomes fluffier and noticeably lighter in color.
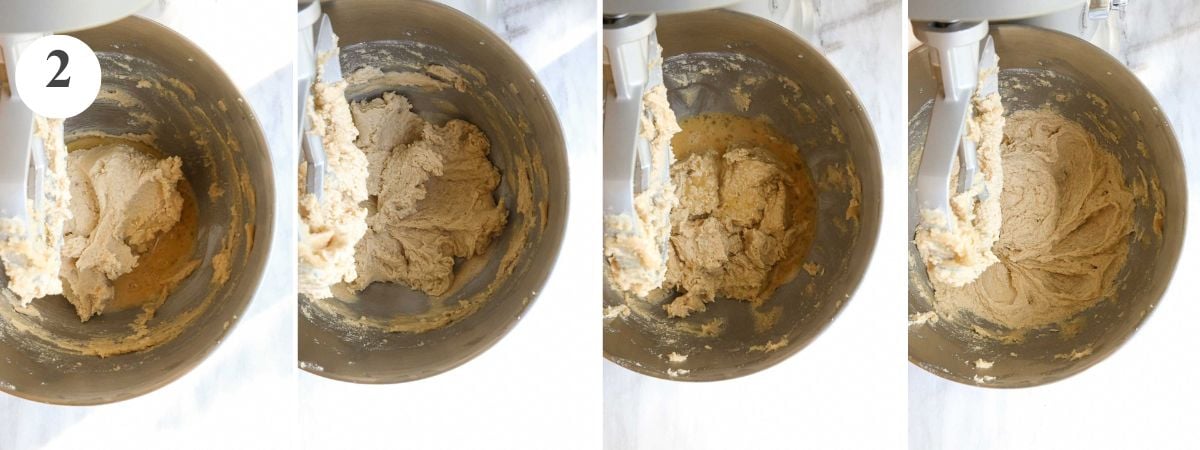
Step 2. Add the Eggs and Vanilla Extract: In a separate small bowl, whisk the two room-temperature eggs and the vanilla extract. In two additions, add the egg mixture to the bowl of the stand mixer, mixing at medium speed, scraping down the bowl as needed. Keep mixing until the egg mixture is fully incorporated into the dough.
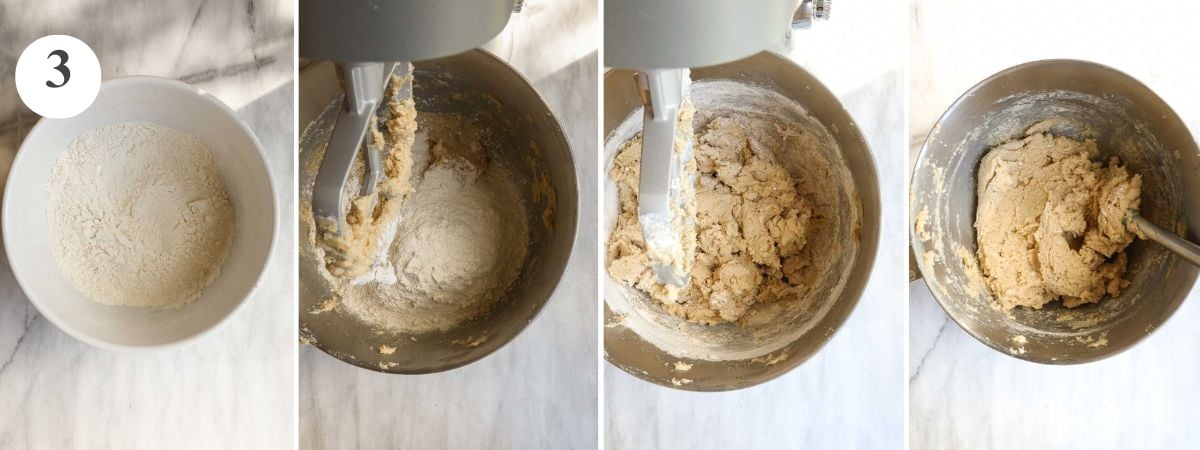
Step 3. Add the Dry ingredients: Add the flour mixture to the bowl of the stand mixer on low speed until most of the flour has been incorporated into the dough, but so that you still see small amounts of flour not yet incorporated. Overmixing, particularly with a stand mixer, can cause overly chewy and unpleasant cookies (chewy like a pizza crust).
Remove the bowl from the stand mixer and mix the remaining flour in by hand with a large spoon or spatula. Be mindful not to overmix (though this is much harder to do by hand).
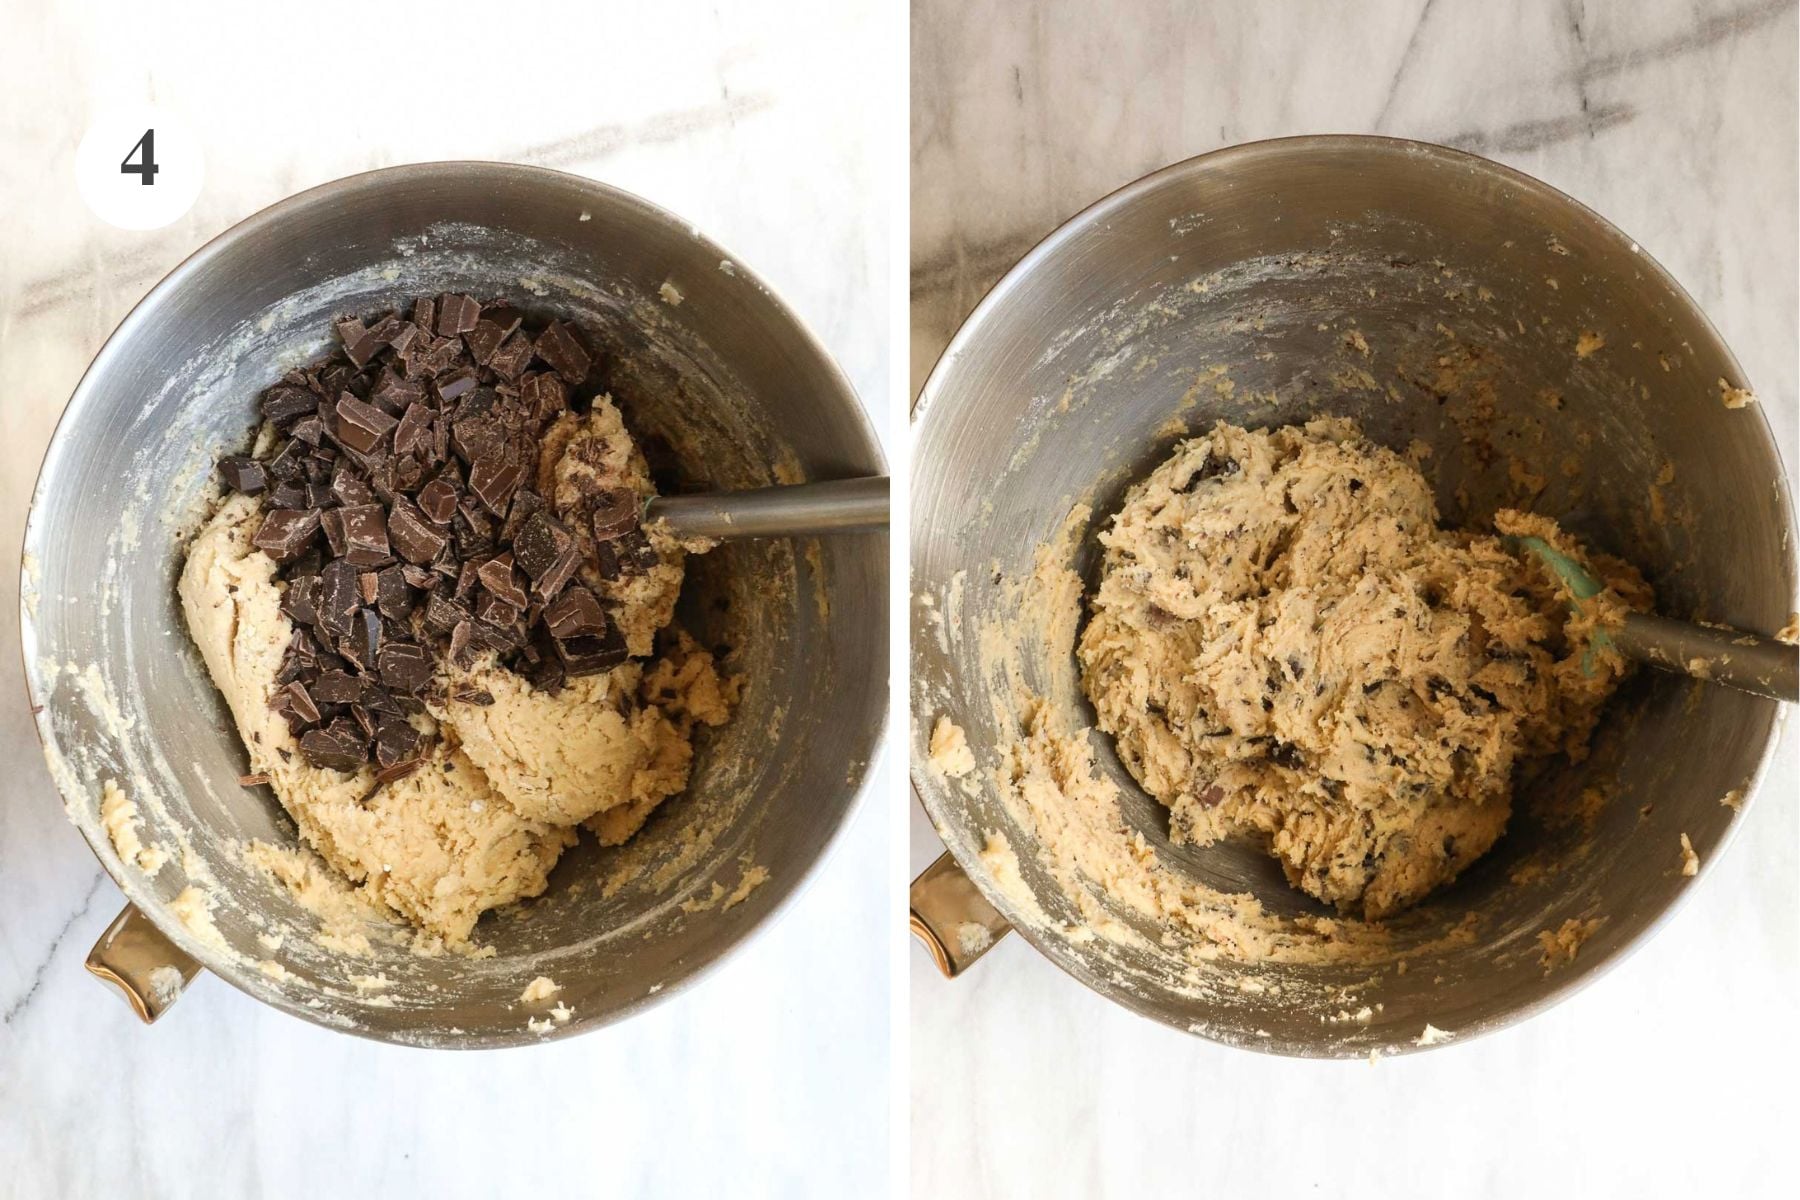
Step 4. Add the Chocolate: Add the chocolate to the bowl with the cookie dough and mix it in by hand. The chocolate should be well incorporated, but do not mix more than is needed.
Refrigerate: Press the cookie dough into the bottom of the bowl. Press plastic wrap over the cookie dough, ensuring that it is completely covered and not exposed to any air. Refrigerate overnight.
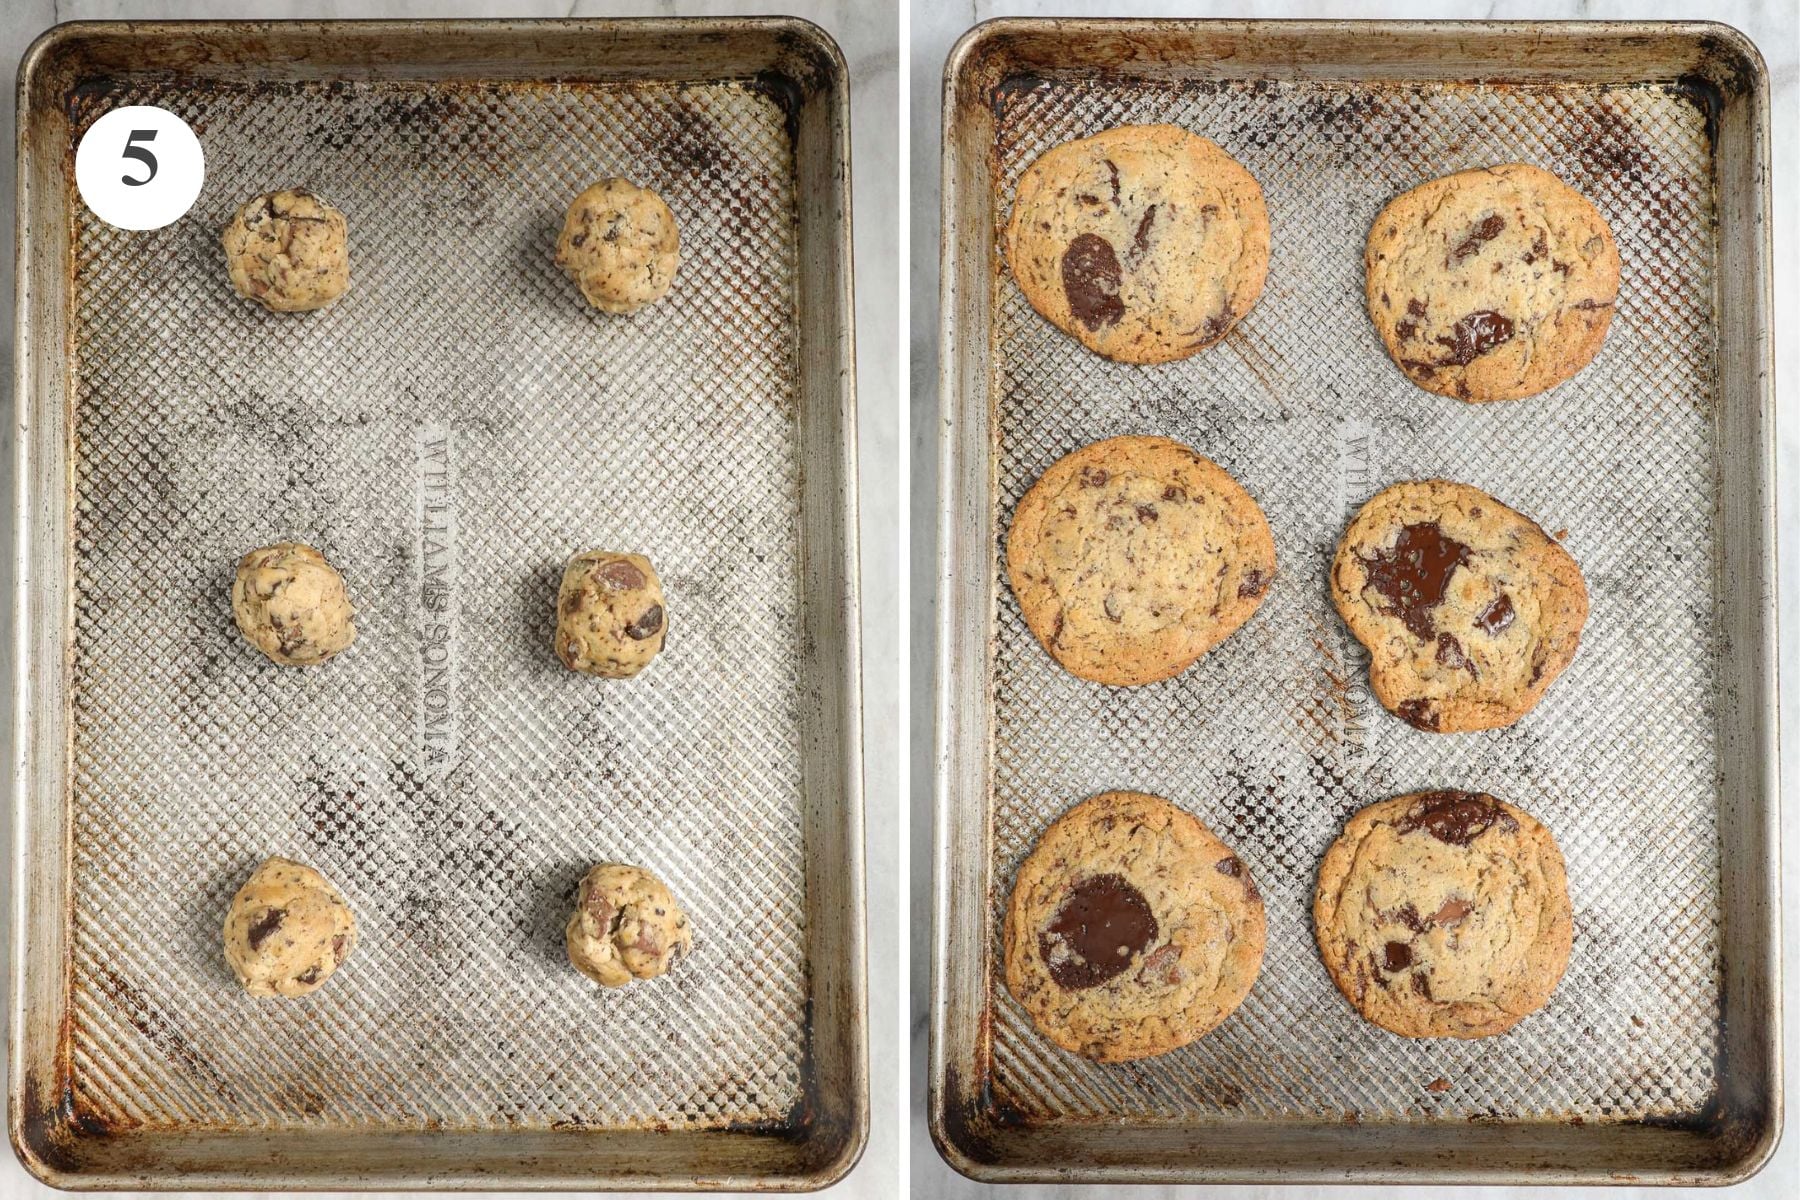
Step 5. Bake: When you are ready to bake the cookies, preheat the oven to 350°F for at least 30 minutes.
Portion out ¼ cup, about 2oz, of cookie dough for each cookie. You can do this with a measured cookie scoop or with a quarter-cup measuring cup. Shape the cookie roughly into a round drop of dough.
Side Note: Shaping cookies into a round ball before baking creates surface tension, which limits the spread of the cookies in the oven.
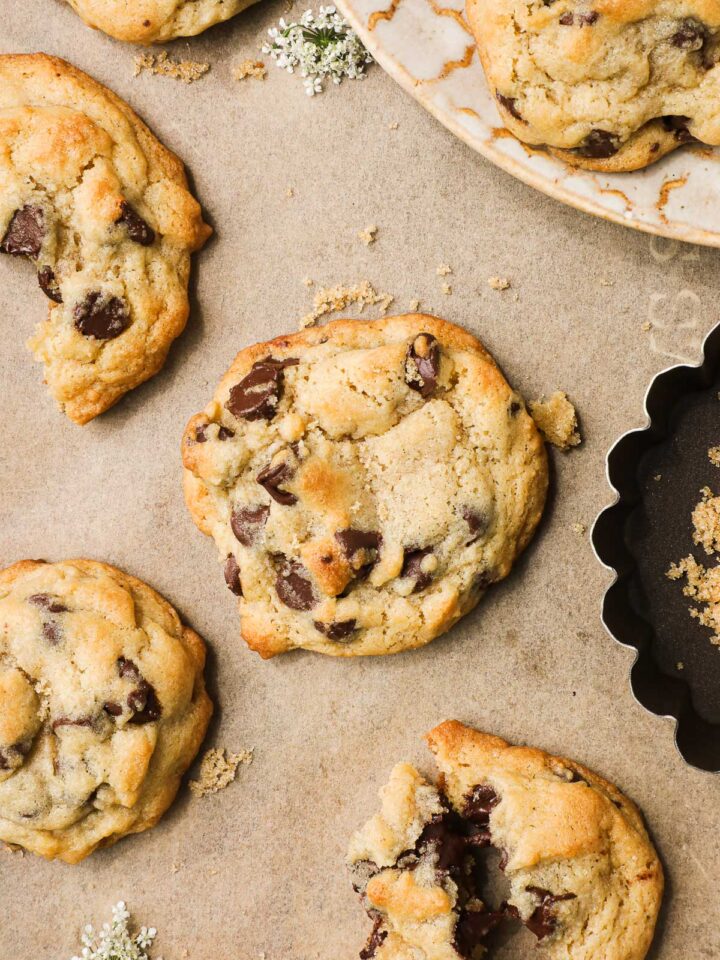
Bake at 350°F for 11-13 minutes, or until the edges of the cookies are lightly brown but the centers look soft and not fully set.
Once they are out of the oven, immediately sprinkle the cookies with flaky sea salt. They can be left to cool on the baking sheet, or transferred to a cooling rack after a few minutes.
Success Tips at a Glance
- Weighing Ingredients: Weigh your ingredients, in particular your flour. Flour is the most important ingredient to measure. If you do not have a kitchen scale, use the dip and sweep method to measure flour. This will get you close to 140g per cup of flour, which is the ratio of flour per cup that I use.
- Consider ordering a kitchen scale if you really want to make a great cookie. I like waterproof kitchen scales.
- Butter Temperature: To properly cream butter and sugar, the butter really needs to be at a cool room temperature. And on that note – cream your butter and sugar (roughly 5-6 minutes). This helps with the texture of the cookie.
- High-Quality Chocolate: Use high-quality chocolate. Choose the highest quality available to you within your budget. This is one of the biggest ways to improve the quality of your cookies.
- Chocolate Baking Bars: Use chocolate bars that can be chopped, rather than chocolate chips.
- Stand Mixer: A stand mixer is helpful, but this can be done with a hand mixer as long as you have a patient arm.
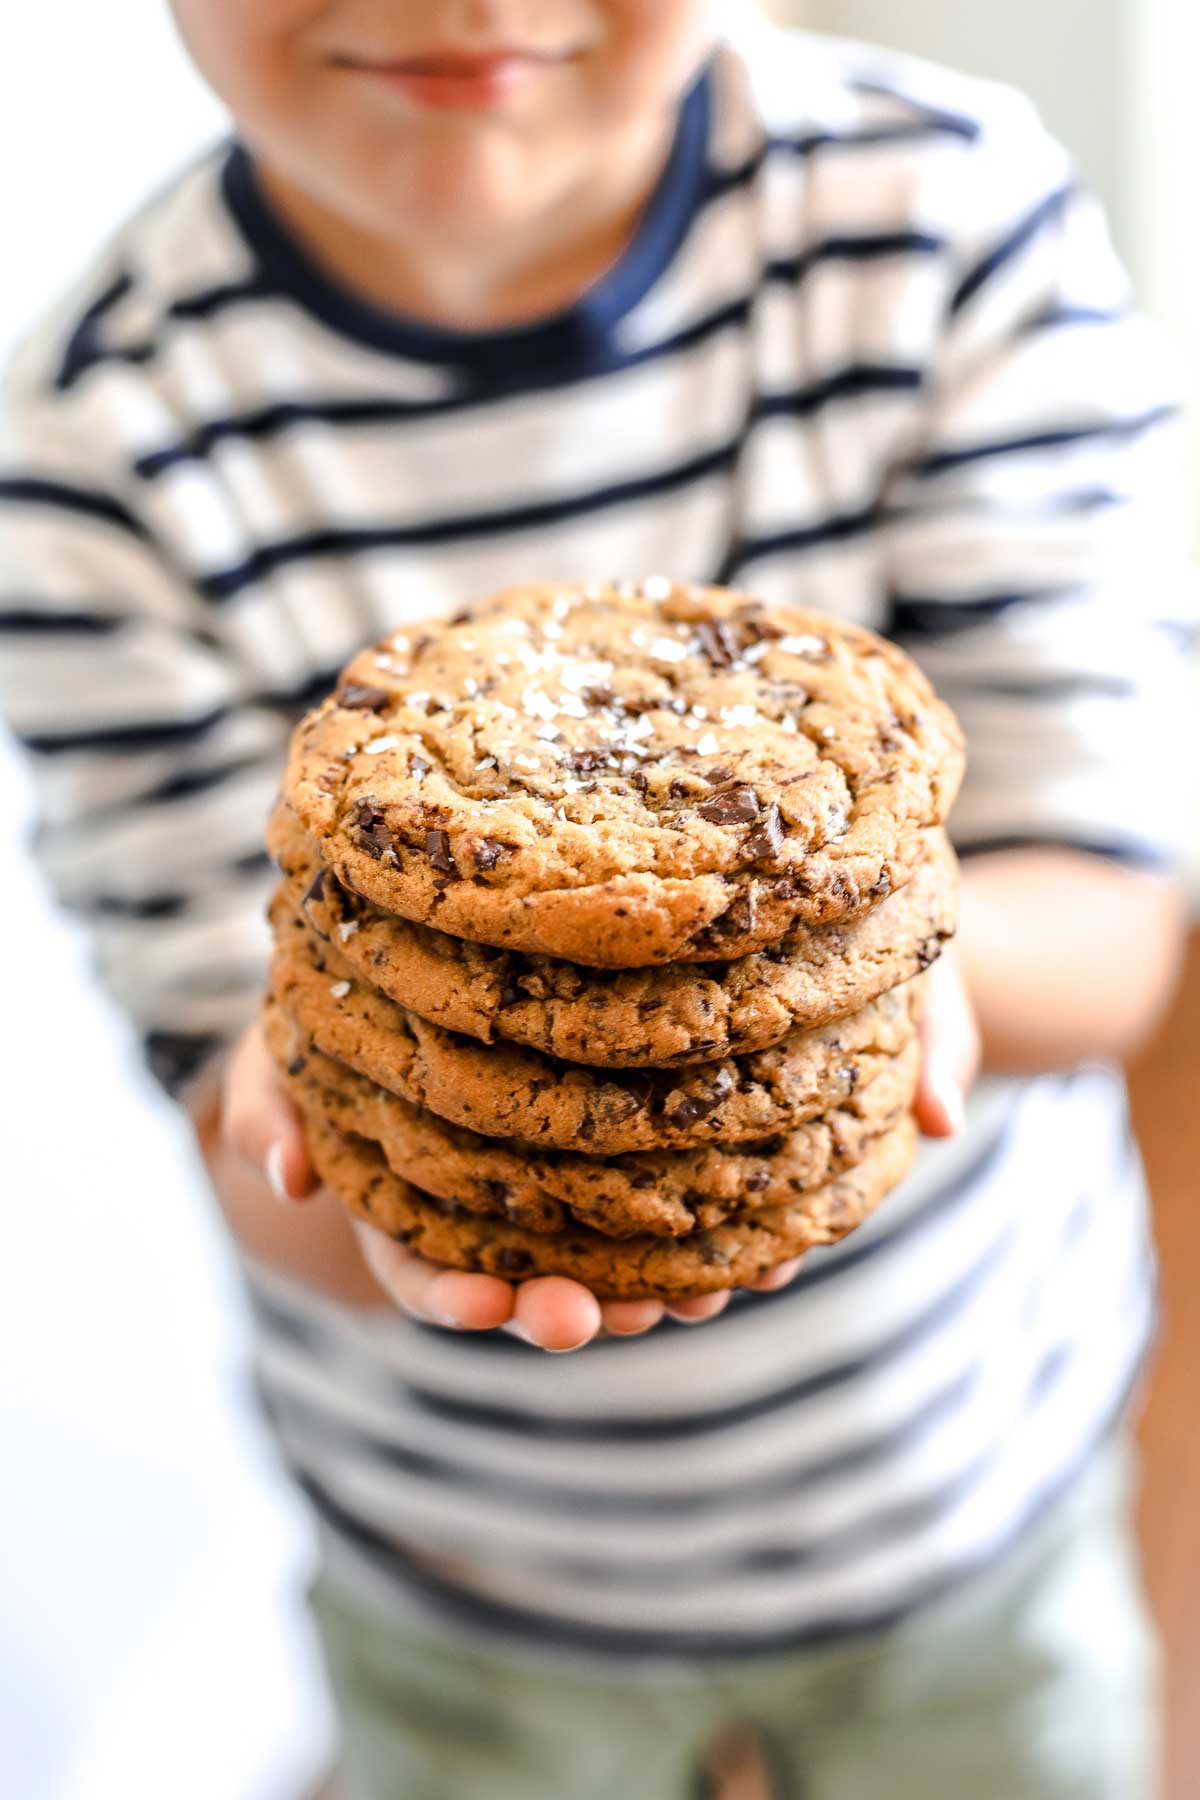
- Overmixing: Do not overmix the dough, which develops gluten. I had never had overmixed, tough, and chewy cookies until recently, when my 8-year-old son took the lead in making chocolate chip cookies. He ended up overmixing the dough with a hand mixer. The result, while still melty and chocolatey, was almost inedible because of the really unpleasant, tough, chewy texture (still so awesome that he took the initiative to make them, and he learned a lot!).
- Refrigerate: Refrigerate your dough overnight. This enhances the flavor, texture, and color of the cookies.
- Oven Temperature: Thoroughly preheat your oven and use a separately purchased oven thermometer to monitor the oven’s real temperature (ovens are not reliable at displaying the actual temperature).
- Checking Doneness: Rely on the color and texture of your cookies in your oven to determine doneness, rather than the timing provided in this recipe.
Notes About Chocolate Chip Cookies
Now that you’ve learned some proper techniques for making chocolate chip cookies, like creaming butter and sugar and measuring ingredients, it's important to note that there isn’t just one way to make a great chocolate chip cookie. If we all thought so, we’d all be missing out on a lot of truly great cookies.
Techniques and Flour Types: There are plenty of interesting techniques out there, like the pan-banging technique to make excellent cookies with crispy rippled edges. You can make shortbread chocolate chip cookies, or cookies with different types of flour like bread flour for an even chewier texture, or Einkorn Flour Chocolate Chip Cookies if you’ve moved away from traditional all-purpose flour.
Shaping and Mixing By Hand: You can bypass some of these important steps (shhh!!) and make these Bakery Style Chocolate Chip Cookies, which have less of an emphasis on creaming butter and sugar and more of an emphasis on shaping the cookies before baking. Or if you don’t have a mixer, you can still make great Chocolate Chip Cookies Without a Mixer.
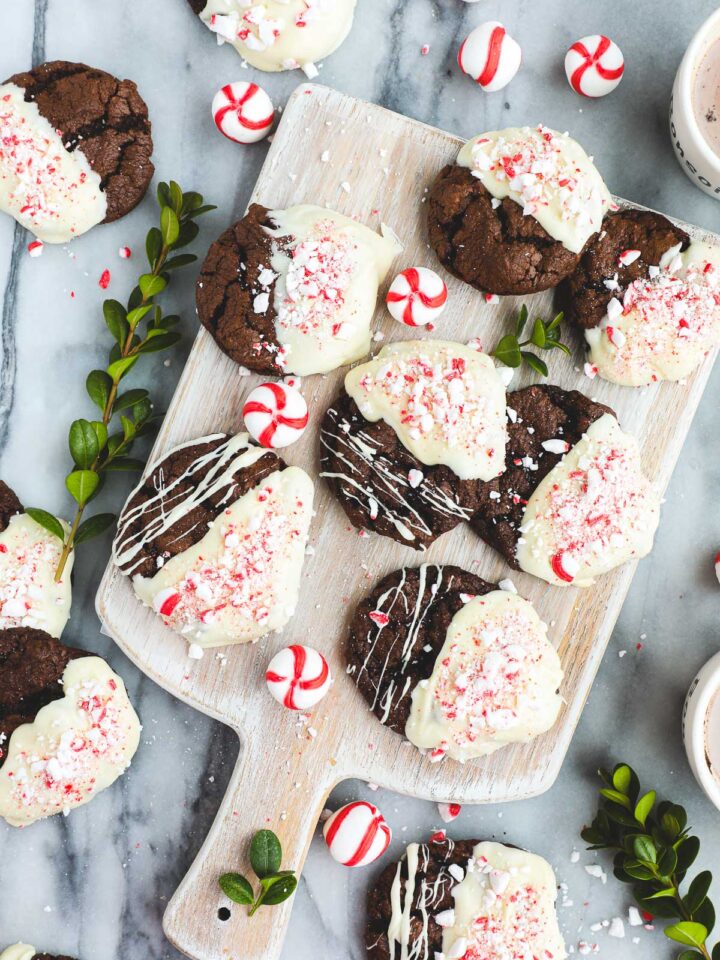
Varieties and Mix-ins: And then there’s a long list of variations that can make a cookie really stand out, like these Espresso Chocolate Chip Cookies, Rice Krispie Chocolate Chip Cookies, or Chocolate Dipped Chocolate Chip Cookies.
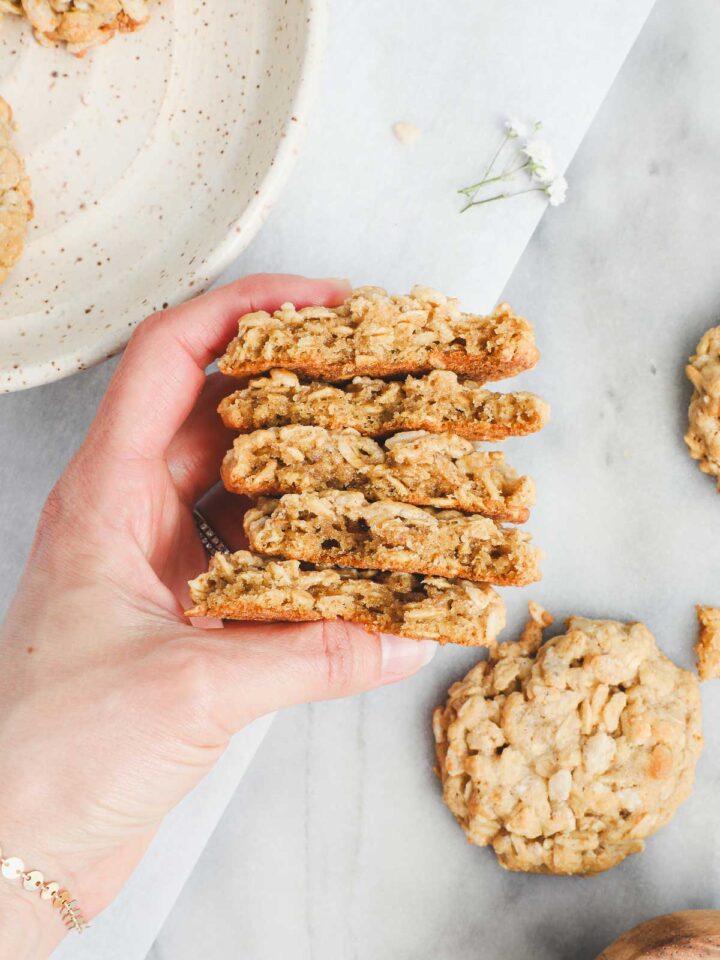
Ingredient Limitations: Even if you’re short on ingredients, like brown sugar, you can certainly make Chocolate Chip Cookies Without Brown Sugar, or just make small batch chocolate chip cookie recipes like Small Batch Oatmeal Chocolate Chip Cookies.
Getting the basics down, however, is really helpful for making your own variations and interpretations of a great chocolate chip cookie!
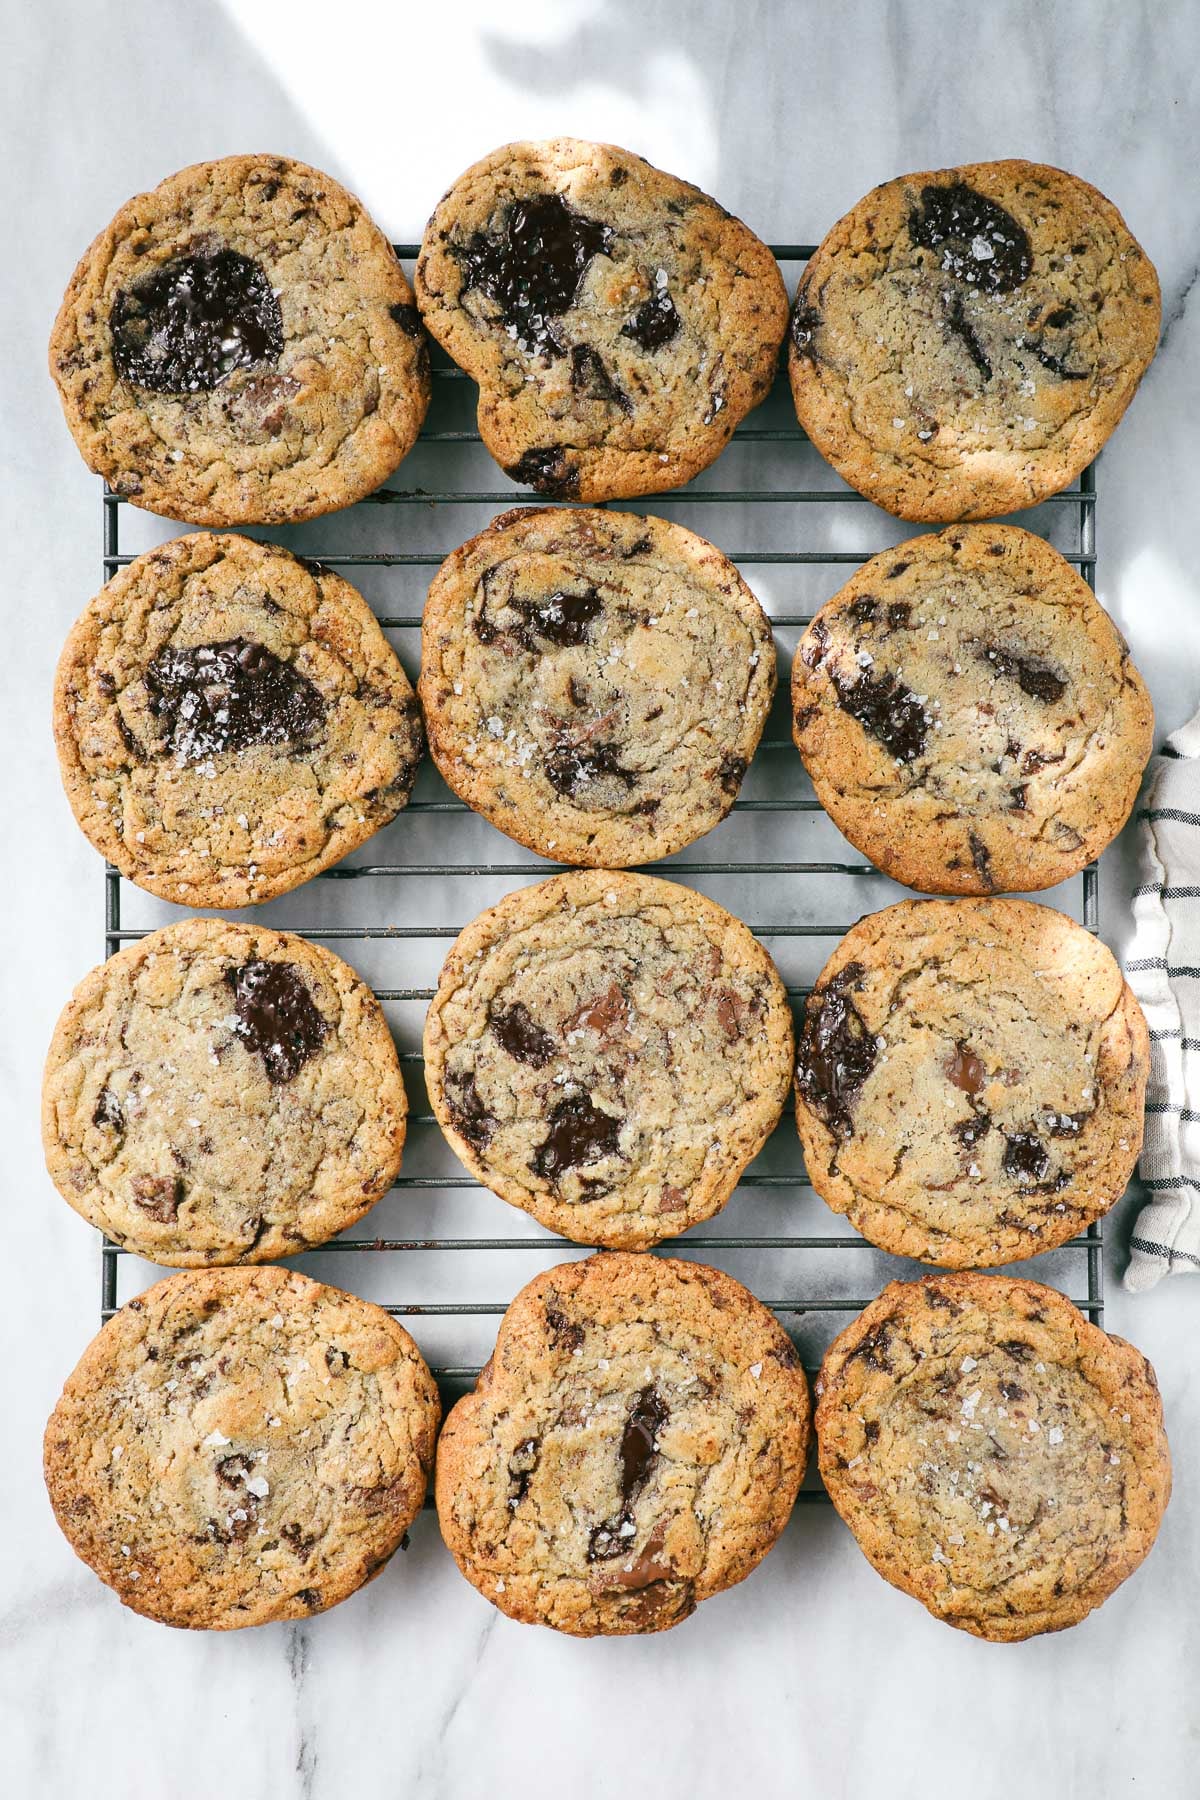
Storage and Freezing
- To Store: Store the cookies in an airtight container at room temperature for 2-3 days, though they are best slightly warm out of the oven.
- To Freeze: Both the raw cookie dough and the fully baked cookies can be frozen. However, I'd err on the side of freezing the dough and baking up a fresh batch of cookies when you are ready.
- Freezing Cookie Dough: It's easiest to portion out the dough before freezing. That way, you can take them out of the freezer, place them on a baking sheet, and bake them once they've warmed to room temperature. You can also bake directly from frozen, adding 1-4 minutes to the baking time.
- To freeze the cookie dough, place prepared rounds of dough on wax paper on a baking sheet and flash freeze for 15 minutes. Then place the balls of dough in a gallon-sized freezer bag with as much air pressed out of the bag as possible for up to 1 month.
- Freezing Baked Cookies: Freeze fully baked cookies in a gallon-sized freezer bag with as much air pressed out as possible for up to 1 month. The less air the cookies are exposed to, the more it protects the flavor.
- Freezing Cookie Dough: It's easiest to portion out the dough before freezing. That way, you can take them out of the freezer, place them on a baking sheet, and bake them once they've warmed to room temperature. You can also bake directly from frozen, adding 1-4 minutes to the baking time.
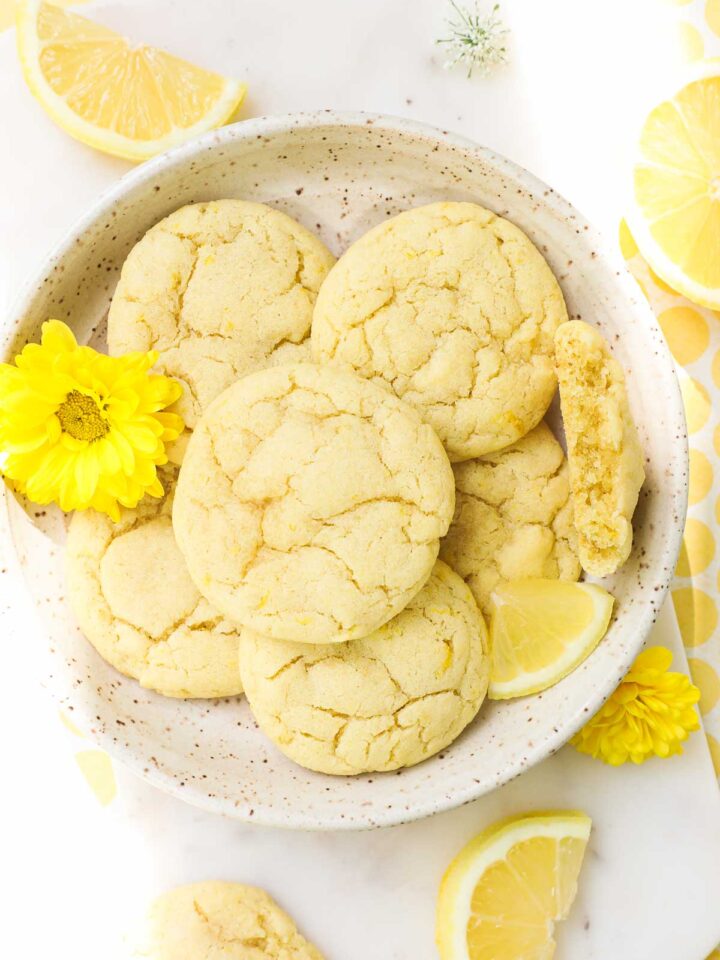
💖 For More Chocolate Chip Cookie Recipes You May Love


If you tried this Chocolate Chip Cookie Recipe or any other recipe on my site, please leave a 🌟 star rating and let me know how it went in the 📝 comments below. I'd love to hear from you!
How to Make Chocolate Chip Cookies
Ingredients
- 350 g all-purpose flour 2½ cups
- 1 teaspoon baking soda
- ½ teaspoon baking powder
- 1 teaspoon salt
- 226 g unsalted butter 1 cup softened to a cool room temperature
- 213 g brown sugar 1 cup
- 99 g granulated sugar ½ cup
- 2 large eggs 100g room temperature
- 1 teaspoon vanilla extract
- 227 g bittersweet chocolate 8oz
- 113 g milk chocolate 4oz
- Flaky sea salt for sprinkling
Instructions
Prepare the Ingredients
- Flour: Use a kitchen scale to weigh the flour in grams. This recipe calls for 350g all-purpose flour, which is 2 ½ cups when using 140g of flour per cup.There is no standardized way to measure flour using cups, and doing so will produce variable results. Depending on the person, someone may measure 1 cup of flour as anywhere between 120 and 150g of flour. That’s a difference of about ¼ cup of flour. That’s why measuring with a kitchen scale in grams is the best way to get a precise result and the right texture in your cookies.
- Butter: Ensure the butter is at a cool room temperature. You should be able to bend the butter without it breaking or falling apart.
- Granulated Sugar and Brown Sugar: Weigh the granulated sugar and brown sugar. They can be kept in the same bowl. Brown sugar can be packed down at different rates. Using a kitchen scale provides accuracy.
- Eggs: Ensure the eggs are at room temperature. To bring them to room temperature quickly, place the eggs in a bowl of warm, but not hot, water for 1 minute.
- Chocolate: Use a kitchen scale to weigh the chocolate. Cut the bittersweet and milk chocolate into chunks of various sizes, up to ½ inch chunks. You will end up with shards of chocolate, which add chocolate flavor throughout the cookies, and chunks of chocolate, which create luscious puddles of chocolate in the cookies to sink your teeth into.
Make the Chocolate Chip Cookie Dough
- Combine Dry Ingredients: In a medium bowl, combine the flour, baking soda, baking powder, and salt. Stir thoroughly to ensure that the baking soda, baking powder, and salt are well incorporated.
- Set Up the Stand Mixer with Butter and Sugar: In the bowl of a stand mixer, add the softened butter, brown sugar, and granulated sugar.
- Cream the Butter and Sugars: Beat on low speed with the paddle attachment just until the ingredients are incorporated.Increase to medium speed for 2 minutes.Use a spatula or large spoon to scrape down the bowl and the paddle attachment. Beat for 1 more minute at medium speed.Scrape down the bowl and paddle again.Beat again for 2-3 minutes at medium speed. The mixture will become fluffier and noticeably paler in color. Keep in mind that the timing will depend on the exact temperature of the butter and speed of the mixer.
- Add the Eggs: Crack the eggs into a separate bowl. Add the vanilla extract and whisk them all together. Add the egg mixture to the creamed butter and sugar in two increments, mixing in between. Continue mixing at medium speed until the egg mixture has been fully incorporated and the dough is homogeneous, scraping down the bowl as needed.
- Flour Mixture: Add the flour mixture and combine on low speed for 30 seconds to 1 minute, until most, but not all, of the flour is incorporated. Stop mixing while you still see raw flour that's not yet incorporated. Remove the bowl from the stand mixer and use a spoon or large spatula to mix in the remaining flour. Mix as little as possible.
- Add the Chocolate: Add the chopped chocolate and continue mixing by hand until it has been fully incorporated, minimizing the number of times you are moving around the dough with the spatula. Finishing the dough this way, by hand, with as little mixing as possible helps to prevent overly tough and chewy (like pizza crust) cookies.
- Refrigerate: Scrape the dough down and press it into the bottom of the bowl. Then press plastic wrap over the dough to prevent it from being exposed to any air. Place the bowl in the fridge overnight.Refrigerating the dough enables the dough to hydrate. The flour will absorb more of the liquid from the butter and the eggs, which creates a more flavorful cookie. It’s like a lasagna that’s better the next day. Hydrating the dough also helps give the cookies a more caramelized color.
Bake the Cookies
- Prepare the Oven: When ready to bake, preheat the oven to 350°F for at least 30 minutes.
- Portioning Cookies: Portion out ¼ cup, about 2oz, of cookie dough for each cookie. You can do this with a measured cookie scoop or with a quarter-cup measuring cup. Shape the cookie roughly into a round drop of dough.Place 6-8 cookies per baking sheet.
- Bake: Place the baking sheet in the oven and bake at 350°F for 11-13 minutes.For even airflow, bake the cookies one tray at a time (I always do this).Rotate the baking sheet halfway through (I don't usually do this, but it's technically helpful for evenly baked cookies, especially if you have hotspots in the oven).
- Checking Doneness: The outside of the cookies should be a light golden brown, and the center should look slightly underdone for a soft, chewy center (they will continue to firm up on the hot pan after you take them out of the oven). For cookies that are well done throughout, add an extra 1-2 minutes to the baking time and look for a more even light brown color across the tops of the cookies.
- Flaky Sea Salt: Once the cookies have been removed from the oven, immediately sprinkle the cookies with flaky sea salt. Let the cookies cool on the baking sheet until they have firmed up and can be transferred to a cookie drying rack if needed. If you don’t need the baking sheet, you can leave them to cool on the baking sheet fully.
Notes
- Weighing Ingredients: Weigh your ingredients, in particular your flour. Flour is the most important ingredient to measure. If you do not have a kitchen scale, use the dip-and-sweep method to measure flour. This will get you close to 140g per cup of flour, which is the ratio of flour per cup that I use.
- Consider ordering a kitchen scale if you really want to make a great cookie. I like waterproof kitchen scales.
- Butter Temperature: To properly cream butter and sugar, the butter really needs to be at a cool room temperature. And on that note – cream your butter and sugar (roughly 5-6 minutes). This helps with the texture of the cookie.
- High-Quality Chocolate: Use high-quality chocolate. Choose the highest quality available to you within your budget. This is one of the biggest ways to improve the quality of your cookies.
- Chocolate Baking Bars: Use chocolate bars that can be chopped, rather than chocolate chips.
- Stand Mixer: A stand mixer is helpful, but this can be done with a hand mixer as long as you have a patient arm.
- Overmixing: Do not overmix the dough, which develops gluten. I had never had overmixed, tough and chewy cookies until recently, when my 8-year-old son took the lead in making chocolate chip cookies. He ended up overmixing the dough with a hand mixer. The result, while still melty and chocolatey, was almost inedible because of the really unpleasant, tough, chewy texture (still so awesome that he took the initiative to make them, and he learned a lot!).
- Refrigerate: Refrigerate your dough overnight. This enhances the flavor, texture, and color of the cookies.
- Oven Temperature: Thoroughly preheat your oven and use a separately purchased oven thermometer to monitor the oven’s real temperature (ovens are not reliable at displaying the actual temperature).
- Checking Doneness: Rely on the color and texture of your cookies in your oven to determine doneness, rather than the timing provided in this recipe.
Leave a Reply