Mini Egg Bars are the perfect easy Easter dessert made with milk chocolate Mini Cadbury Eggs. They are easy to make without any special equipment or techniques and they can be made in one bowl for easy cleanup. They are similar to chocolate chip cookie bars, but these are extra thick and filled and topped with creamy Mini Cadbury Eggs for an extra fun family treat.
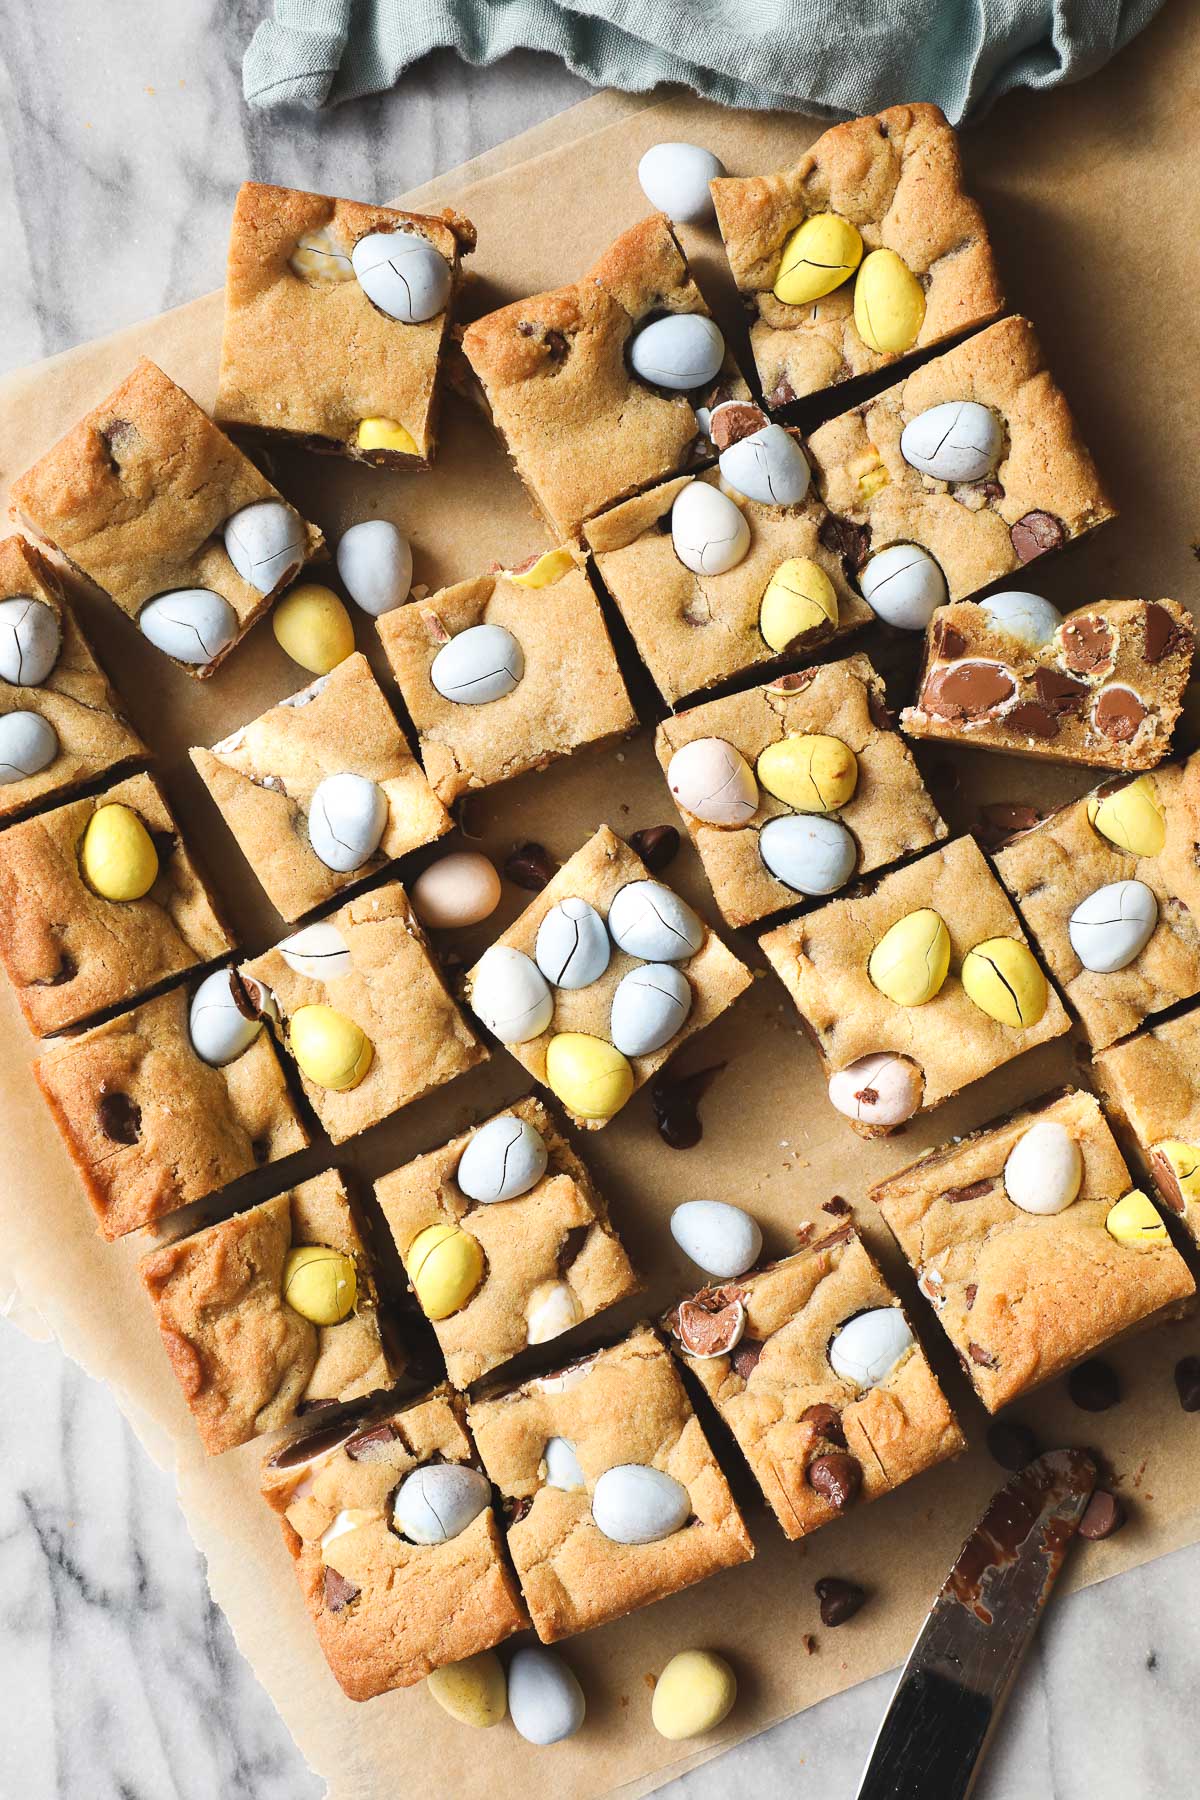
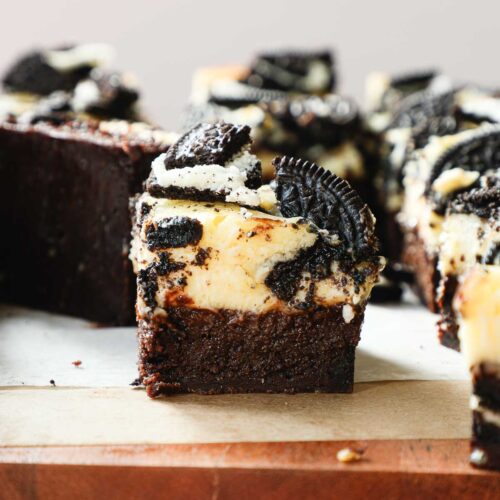
Bars, blondies, and brownies are great ways to make a dessert for a crowd with limited effort. The dough is made in a single bowl, pressed into a baking dish, baked, and later cut into bars. It can be simpler than making individual cookies. My other favorite blondies and brownies are these Oreo Brookies, Biscoff Blondies, or for an ultra-decadent but fun dessert, these Oreo Cheesecake Brownies.
My other favorite Easter dessert is this Old-Fashioned Lemon Pie Without Meringue. It takes all the fun of a lemony sweet and tart dessert and leaves out the finicky meringue. Along the same lines, I love these Lemon Curd Cookies, this Raspberry Lemon Loaf, or these Strawberry Jam Cookies with ribbons of strawberry jam.
Jump to:
Why You’ll Love This Recipe
Fun Family Easter Dessert: This dessert is made with classic chocolate chip cookie flavors with the bonus of the Milk Chocolate Mini Cadbury Eggs. It’ll make the special occasion a little more special with these little chocolate Easter eggs on top.
Easy to Make: This recipe only requires one bowl, easy to make, easy to clean up, and has all the flavors that you already love (i.e. they are just like chocolate chip cookie bars).
Mini Egg Bar Ingredients:
Below are the ingredients needed to make Mini Egg Bars.
- Butter: The butter should be softened at room temperature. If you didn't soften your butter in advance, not to worry. Add the butter to the large mixing bowl that you are planning on using to make the bars and microwave for 1 minute at 20 percent power. Flip the butter over in the bowl and add 30 seconds at 20% power until the butter is softened (1 or 2 more times).
- Sugar: This recipe uses more brown sugar than granulated sugar, which adds subtle caramel flavor.
- Eggs: Use large pasture-raised eggs, if possible.
- Vanilla Extract: Use real vanilla extract, not imitation vanilla. If you bake somewhat regularly consider buying a bottle of vanilla extract at Costco. It is more economical and will last you a year if not two years.
- Baking Powder and Baking Soda: For leavening. Check to make sure that they have not expired.
- Salt: To balance sweetness and bring out flavor.
- Flour: Use all-purpose unbleached flour.
- Semisweet Chocolate Chips: I use Nestle, but any brand will do. Nestle chocolate chips also go really well in these Flourless Chocolate Chip Cookies.
- Cadbury Mini Eggs: These are like oversized milk chocolate M&Ms, but the chocolate tastes much better. It is sold in purple packaging and is available in the weeks leading up to Easter at most typical grocery stores and Target. They also sometimes sell large bags of them at wholesale stores like Costco.
See the recipe card for full information on ingredients and quantities.
Variations and Substitutions:
Chocolate Chips: This recipe calls for 1 cup semi-sweet chocolate chips in addition to one 9-ounce bag of Cadbury Mini Eggs. This is because buying multiple bags of Mini Cadbury Eggs can be expensive, and you may already have semi-sweet chocolate chips on hand. However, if don’t already have chocolate chips in your pantry (semi-sweet, bittersweet, or milk chocolate), you can buy a second bag of Mini Cadbury Eggs to add to the dough instead. Choose whatever is simpler and more cost-effective for you.
Cadbury Mini Eggs: Cadbury also sells a rainbow version of mini eggs which can be used here, or Mars (M&M's) and Hershey’s each have their own version of candy-coated mini chocolate eggs.
Sugar: See my post on Substitutes for Brown Sugar in Chocolate Chip Cookies.
How to Make Mini Egg Bars
Below are the step-by-step instructions and photos for how to make Mini Egg Bars.
Note: The recipe card with instructions, ingredient list, and quantities is included further below these step-by-step photos.

Step 1. Preheat the oven to 350°F. Prepare a 9x9 metal baking dish. Butter and line with parchment paper.
Add the softened butter, brown sugar, and granulated sugar to a large mixing bowl and combine. This can be done with a hand-held mixer, a stand mixer, or by hand.
Expert Tip: If you have not softened your butter ahead of time, add the butter to the large mixing bowl and microwave at 20% power for 1 minute. Flip the butter over in the bowl and add 30 seconds at 20% power until softened (1-2 more times).
Step 2: Add the eggs, vanilla extract, baking powder, baking soda, and salt and combine.

Step 3. Add the flour and combine.
Step 4. Add the semi-sweet chocolate chips and half to two-thirds of the Cadbury Mini Eggs and combine with a large spoon. Reserve the remaining half for decorating the top of the bars.
Expert Tip: Do not use a hand-held or stand mixer for this step. It will unnecessarily crack the eggs and break them up into smaller pieces. A large spoon is best here.

Step 5. Press the cookie bar dough into the prepared baking dish. Decorate the top of the cookie bar dough with the remaining Mini Eggs.
Expert Tip: Press the thick dough evenly into the baking dish by putting your hand inside a plastic baggie or using an extra piece of parchment paper and pushing the dough into the corners of the dish. This will create an even layer of dough that stretches all the way to the corners of the dish.
Step 6. Bake for 20-25 minutes until the edges start to lightly brown. Allow to cool fully in the baking dish. Then use the overhanging parchment paper to lift the bars out of the dish and place it on a cutting board. Cut into 25 equal squares.
Mini Egg Bar Recipe Tips
- Choosing a Baking Dish: This recipe calls for a metal 9x9 baking dish for a thick Mini Egg Bar. If you do not have a 9x9 dish you can use these other options and adjust the baking time.
- 8x8 baking dish: Add 5-10 minutes to the baking time.
- 9x13 baking dish: Reduce the time by to up 10 minutes. Start checking at the 15-minute mark.
- 9x9 ceramic dish: Add 5-10 minutes to the baking time.
- Preparing the Dish: Butter the 9x9 baking dish. Then line the dish with parchment paper. Trim the parchment paper with scissors if needed. The butter helps the parchment paper stick to the pan.
- When the Mini Egg Bars are Done: The Mini Egg Bars are done when the edges start to brown, but the middle has not fully browned yet. This may be difficult to tell while the bars are still in the oven, so keep a close eye on it, and when they look close to done slide them out of the oven slightly and check in the light of the kitchen.
- Cracking Eggs: The eggs will crack when baked, that’s okay. You’ll need to cut into the bars which will cause cracks anyway, so cracking while baking is not a big deal. You can add additional not-baked eggs to the top after the bars come out of the oven, but because the dough has already been baked and the eggs are big, it will not look as nice.

Mini Egg Bar FAQs
I recommend leaving the Mini Eggs whole. It is less work to not cut them, and more satisfying to bite into a whole mini egg than crushed mini egg pieces. Though, this is entirely personal preference. Neither way will impact the overall result of the dessert.
Yes, leave the bars in the pan and allow them to fully cool before cutting into them. They will continue to cook from the residual heat after removing them from the oven. If they are not yet cool, they are more likely to fall apart when cutting and removing them from the pan.
Butter the pan and line with parchment paper before baking. This will allow you to easily lift the entire set of bars out of the pan at once and place it on a large cutting board. Allow the bars to fully cool before removing them from the pan and cutting into them. Use a sharp knife, which you can run under hot water and carefully dry before slicing into the bars. This will create nice clean lines. I recommend creating 4 long cuts spaced evenly in both directions for 25 thick square bars. The perfect bite size for parties.
How to Store and Freeze:
Store: To store the bars you can leave any extras in the dish it was baked in and cover with aluminum foil. Or place the remaining cut bars in a quart or gallon-sized bag and store on the counter.
Freeze: To freeze any leftovers place them in a quart or gallon-sized freezer bag. Remove as much air as possible from the bag and store it in the freezer for up to 3 months.
Here are a few other dessert recipes you may love:
If you tried this Mini Egg Bars Recipe or any other recipe on my website, please leave a 🌟 star rating and let me know how it went in the 📝 comments below. I'd love to hear from you.

Mini Egg Bars
Ingredients
- 1 cup butter softened
- 1 cup brown sugar
- ½ cup granulated sugar
- 2 large eggs
- 1 teaspoon vanilla extract
- 1½ teaspoon baking powder
- 1 teaspoon baking soda
- 1 teaspoon salt
- 2¾ cups all-purpose flour
- 1 cup semi-sweet chocolate chips
- 1 7 oz bag Cadbury Mini Eggs
Instructions
- Preheat the oven to 350°F. Prepare a 9x9 metal baking dish. Butter and line with parchment paper.
- In a large mixing bowl, combine the softened butter, brown sugar, and granulated sugar.
- Add the eggs, vanilla extract, baking powder, baking soda, and salt and combine.
- Add the flour and combine.
- Add the chocolate chips and half to two-thirds of the mini eggs. Use a large mixing spoon to combine. Do not use a hand-held or stand mixer at this stage, which will break the eggs unnecessarily. Reserve the remaining mini eggs to decorate the top.
- Press the cookie batter into the prepared baking dish. Use the remaining Cadbury Mini Eggs to decorate the top of the cookie bars.
- Bake for 20-25 minutes until the edges start to lightly brown. Allow to cool fully in the baking dish. Then use the overhanging parchment paper to lift the bars out of the dish and place it on a cutting board. Cut into 25 equal squares.
Notes
- 8x8 baking dish: Add 5-10 minutes to the baking time.
- 9x13 baking dish: Reduce the time by to up 10 minutes. Start checking at the 15-minute mark.
- 9x9 ceramic dish: Add 5-10 minutes to the baking time.







Leave a Reply
You must be logged in to post a comment.